Would you like to know the best time of the day to take photos? In this tutorial you will learn when the light outside is fantastic for whatever type of photography you enjoy doing. These 21 time-of-day tips used by professional photographers will teach you when to go out shooting, and how to use the light most effectively.
Photograph During Morning Golden Hour (aka Magic Hour)
You may have already heard of the term Golden Hour, or Magic Hour. The golden hour period is approximately between one half hour before sunrise, and one hour after sunrise. Golden hour is so named because early morning light is soft, and of course, golden!
In this section you will learn the best ways to photograph a half hour before sunrise and an hour after sunrise.
1. Photograph Before The Sun Rises
To really take advantage of the early morning golden hour you should have a tripod, as the light is usually too low to get a sharp picture.
Start prior to sunrise and find a location like a house or building that has at least one artificial light. Photograph the exterior of the building, and what you should see is a photo with a wonderful blue and yellow color combination.
The yellow of the electric light bulbs mixes very nicely with the blue of the early morning sky. After the sun rises you won’t be able to see the exterior electric lights, as the sun’s strong brightness overpowers the minimal brightness of the electric lights.
2. Shoot Into The Sunrise To Create Lens Flares
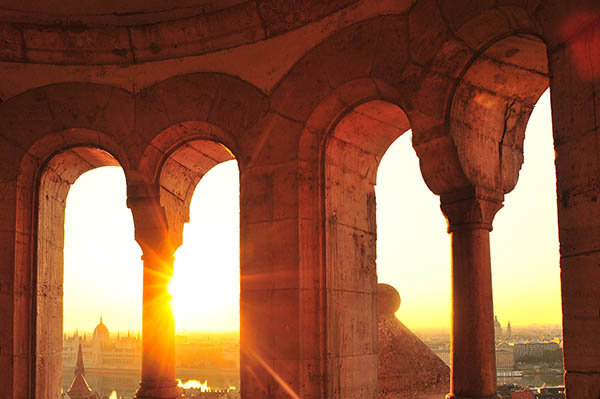
After the sun has risen you can practice creating lens flare photography, which adds a beautiful golden color to your photos. Find a good looking location and point your camera directly toward the rising sun.
If you feel that your photo is a little darker than you like after taking a test picture, your camera has an option called Exposure Compensation, and it looks like this: “+/-“. Simply adjust your exposure compensation toward the plus sign until your photo is bright enough.
Warning! It’s very dangerous to your eyes to look through the camera’s eye-piece when photographing into the sun. Its best to compose your photo by viewing the rear screen to avoid eye damage.
3. Photograph People With Early Morning Sunlight
When the sun has risen even higher in the sky, you can now place people in your photo. The people will be back-lit, which means that the sunlight is coming from behind them. Again, if you feel that your photo is a little dark, use your exposure compensation button to increase the brightness by going to the “+” side.
4. Look For Rays Of Sunlight
Next up is a photo opportunity that happens almost an hour after sunrise. Try and find a location where the sunlight is streaming between buildings, trees, or any other object that blocks some light, but allows a ray of sunlight to shine through.
If you feel that your photo is too bright, feel free to use the “-“ darker option with your camera’s exposure compensation slider. If you can wait for a person to walk into the stream of light, all the better!
5. Photograph Gardens An Hour After Sunrise
A great way to photograph a garden is about one hour after sunrise. Place your camera so that when you are photographing the garden the sun is directly behind the plants (your camera should be pointing toward the sun).
This technique of photographing subjects that are illuminated from behind is called back-lighting. Back-lighting is a really nice way to photograph gardens because the sunlight shines through the vegetation, giving it a beautiful rich glow.
Photograph During Mid-Day Harsh Sunlight
Many photographers go home after golden hour and don’t go back out shooting until evening golden hour. In this section you will learn how to successfully photograph in the middle of the day when the light outside is harsh.
6. Photograph Vegetation From Below The Plant
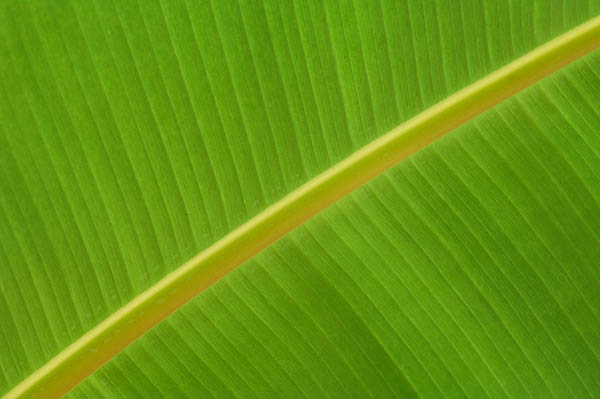
Photograph vegetation from below the plant, allowing the sun to illuminate the greenery from the upper side. This will create a nice green glow that makes plants appear vibrant and bright.
7. Use Exposure Compensation To Make Your Backgrounds Dark
If you see a beautiful plant that is being illuminated by harsh, overhead direct sunlight, use your exposure compensation button to make the photo darker. This is the “+/-“ button that almost all cameras have. Click on the “-“ minus button until the plant is lit normally, and the background becomes a nice deep black.
8. Look For Textures Or Patterns To Photograph
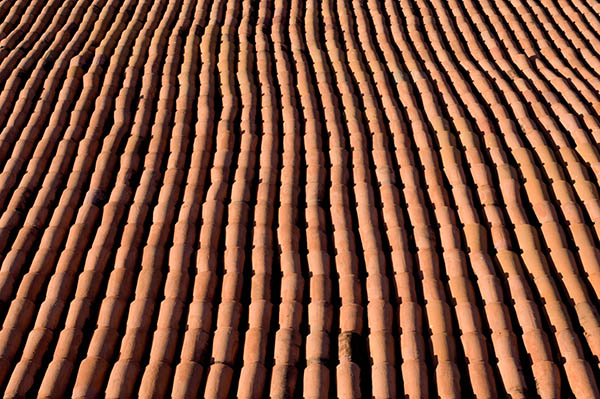
Try to look out for texture or pattern style photos, as they always work well no matter how much harsh light there is outside. A texture or pattern photo doesn’t have a main subject.
9. Use Shade To Photograph People When The Light Is Harsh
If you want to photograph people but the sunlight is just too harsh, ask them to move to the shady side of a house or building. While not an ideal type of lighting, being in the shade of a wall is certainly better than being out in the harsh sun.
10. Look For Walls To Create Shadow Photos
Look for a wall that has a shadow when people walk by, as you can often get very strange and interesting results. In this photo the man is quite average looking, but his shadow casts the image of a massive and muscle-bound bodybuilder!
11. Convert Portraits To Black And White When The Light Is Harsh
When you absolutely need to take a portrait in harsh mid-day sun, and the results aren’t as great as you were hoping for, one effective trick is to make the photo a black and white. Before you press delete, try your photos in black and white and see what happens.
All photo editing software has black and white photo conversion options. Alternatively, find the Saturation slider in your editing software and take the saturation down to “0”. If you don’t use editing software, most cameras allow for in-camera black and white conversion. You’ll need to check your manual to see if your camera has this option.
Photograph During Evening Golden Hour
Evening golden hour is similar to morning golden hour, however your subject matter will be different. For example, most events, festivals, and crowds happen in the evening, and peaceful, crowd-free photos are usually taken in the morning. In this section you will learn how to photograph an hour before sunset and an hour after sunset.
12. Photograph People And Artificial Lighting In The Evening
Take a look at the photo below of a woman walking past Japanese lanterns. If this photo was taken in the middle of the day, the glow of the lanterns wouldn’t be visible. For exterior portraits using electric lights, choose the evening golden hour when the light from the sky is the same brightness as the exterior electric lights.
13. Look For Evening Light Rays To Photograph People
Prior to sunset the sun is low in the sky. When the sun shines through openings between buildings or other objects it creates unique photo opportunities. Always look for light rays shining on walls, and wait until someone walks into your picture. Or better yet, ask a friend or stranger to walk into the light so you can control the photo.
14. Create Lens Flares For Artistic Photographs
A lens flare is a circle (or circles) of light that that occur in most photos when a lens is pointed directly into the sun. To create artistic lens flares, shoot straight into the sun just before the sun sets. Remember to never look directly into the sun through your camera’s eyepiece.
15. Place People Under The Setting Sun
Portraiture is beautiful during evening golden hour. Just before the sun sets, position your subjects under the setting sun to get a lovely soft glow that will surround your subjects.
16. Keep Photographing After The Sun Sets
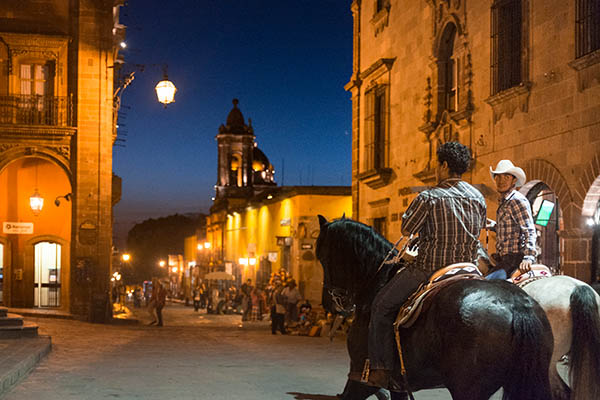
After sunset you will have about an hour to get great looking shots with some blue sky still remaining. If you are photographing in a city with artificial lights, you will probably find that the darkening sky will get bluer, and the nearby houses or buildings will get much more yellow in color.
Night Photography
At night your photos will either be illuminated by the moon, artificial lights, or both. Because you will be shooting in very low light, it may be best to use a tripod for the following tips. In this section you will learn how to successfully photograph when the sky becomes dark.
17. Use Your Zoom Lens For City Lights At Night
Use a long zoom lens to make neon city lights appear more dramatic. Long zoom lenses, in the range of 70mm to 200mm, have a physical property that make distant objects appear to be compacted or compressed. This is a good thing for city photos at night.
18. If You Don’t Have A tripod, Use A Wide-Angle Lens
If you aren’t using a tripod when it gets dark outside, switch to a wide-angle lens. Wide angle lenses have a much greater chance of delivering a sharp picture than zoom lenses. Zoom lenses, similar to telescopes, are prone to shakiness because they have much more magnification than wide angle lenses.
19. Avoid Ugly City Light By Converting Your Photo To Black And White
Most city street lamps are created with either mercury or sodium. This type of light is either an ugly orange or green color. If you feel that your color photo isn’t good because of either of these two colors, try turning your photo into a black and white.
20. Use Moonlight To Create Soft Blue Colored Landscapes
Moonlight is a very nice lighting source, as it bathes the world in a soft blue light. For this type of shot you will need a tripod, as your exposure may be a minute or two.
Simply place your camera on a tripod during a full moon, aim your camera at your night-time landscape, and gently press the shutter button. Wait for the camera to finish the exposure, and the result should be a soft blue landscape.
21. Use Your Body Like A tripod To Keep Your Photos Sharp
Most festivals happen at night, which makes things hard for photographers because using a tripod is not always practical. To make sure you have a decently sharp picture when you can’t use a tripod, sit on the ground and place both your elbows on your knees. This will stabilize your upper body and will give you a better chance of a sharper night photo.
Remember that there is no bad light for photography. Regardless of what type of light is outside, there is at least one scene that will look great in whatever lighting conditions the day brings. Morning, noon, evening, and night are all fantastic times for photography, especially now that you have 21 tips for photographing 24/7!


