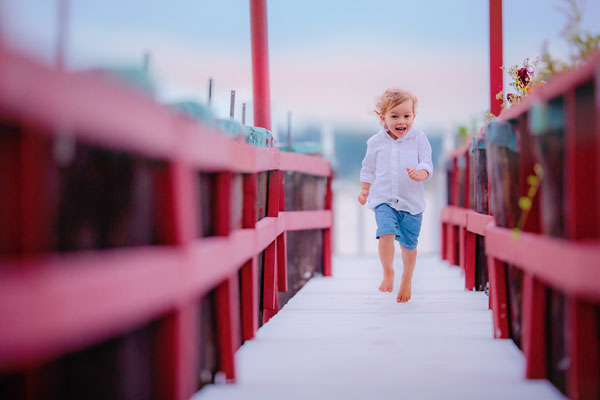
Do you struggle to take good photos of children and babies? Children photography can be challenging. But it’s also incredibly rewarding. So how do you take beautiful photos of children? How do you capture the magic of childhood in a picture? In this tutorial, you’ll discover 10 pro secrets for taking magical photos of children and babies.
1. Choose A Location For Your Photo Shoot
Of course, the child is the most important element in your photo. But you also need to choose a location for your shoot.
Even though the background often appears blurred in a portrait photo, it’s still an important part of the final image.
So what makes a great location for photographing children?
Here’s the good news:
You can actually make magic out of the most mundane environments.
The key things to consider are detail, texture, and color.
Look for a backdrop that adds detail to your photo. If there’s no detail or texture, you won’t have anything to create that beautiful background blur.
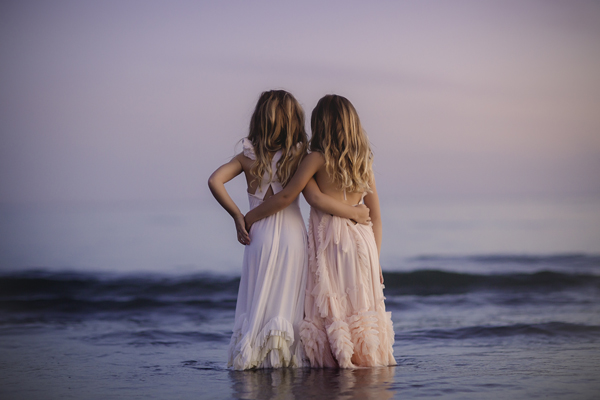
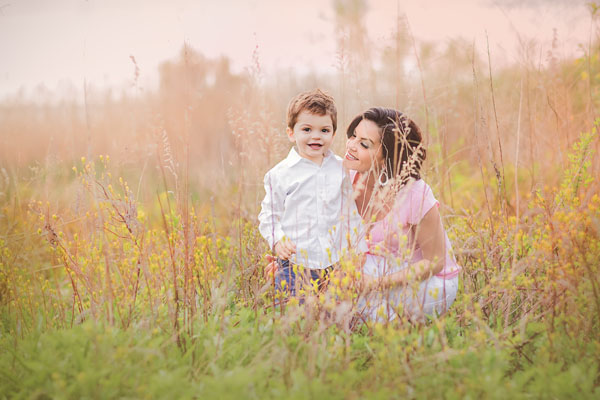
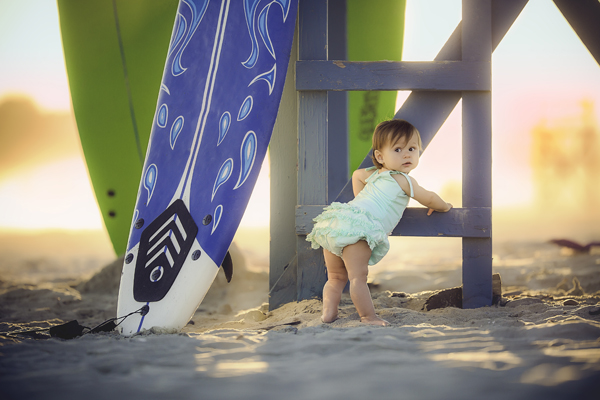
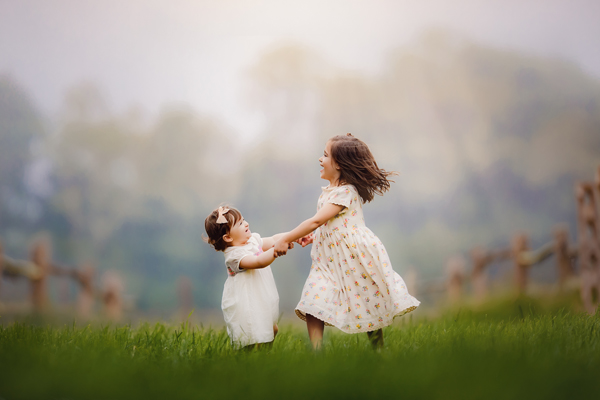
Great outdoor locations include the beach, woodland, or an open field.
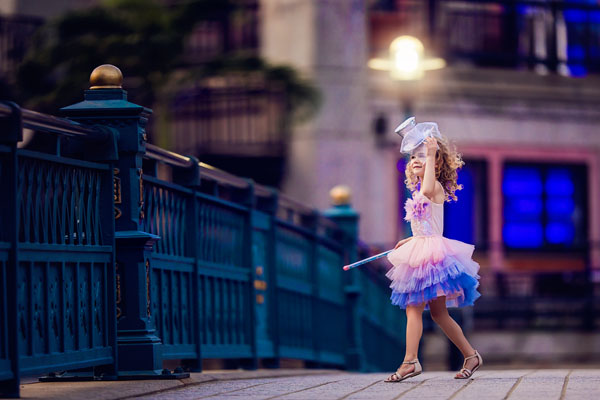
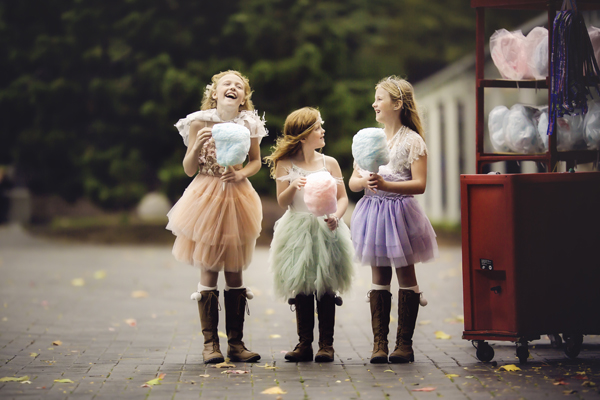
You could also shoot in urban environments, using buildings to add detail to the background.
Even a deserted parking lot or an overgrown patch of land can make an interesting backdrop.
Of course, you can also shoot indoors – which is great for newborn photography.
When choosing a location, consider how the surroundings might add to the storytelling element of your photo.
You also want the color of the background to complement the subject. This means you might need to think about the color of your subject’s clothing.
For instance, if you’re shooting against a green field or trees, you can make your subject pop by dressing them in a contrasting color such as red.
Now, choosing a good backdrop is important. But you also need great light.
Read on to discover how to capture incredible light when photographing children.
2. Shoot In Soft Natural Light
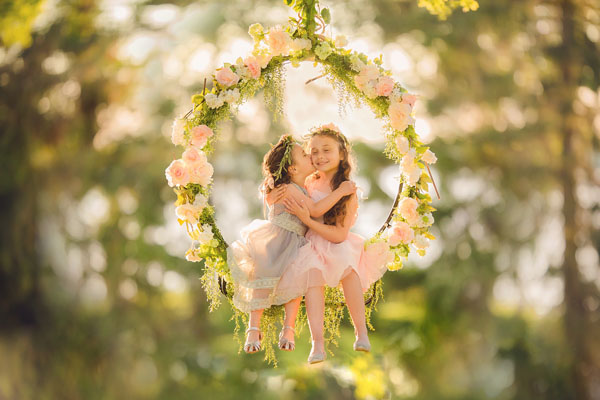
Good light will add a magical quality to your photos.
The same location can look completely different in different kinds of light. And certain kinds of light are more flattering on your subject than others.
So, what kind of light is best for children photography?
First of all, I love to shoot in natural daylight. There’s no need for expensive studio lights or flash guns.
And the best kind of light is soft or diffused light. This type of light softens details and is flattering on the skin.
It also softens the overall mood of the photo, which is perfect for creating magical photos of children.
So, how do you ensure the light is soft in your portrait photos?
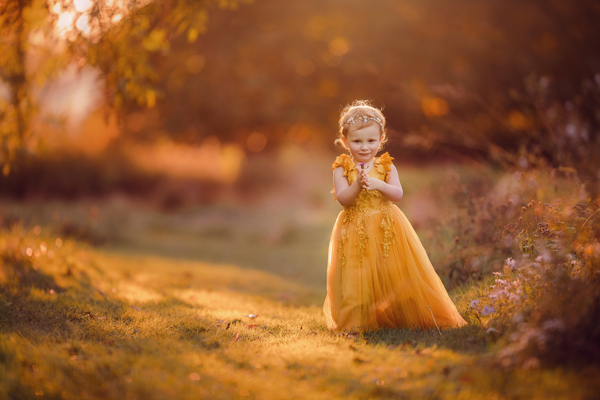
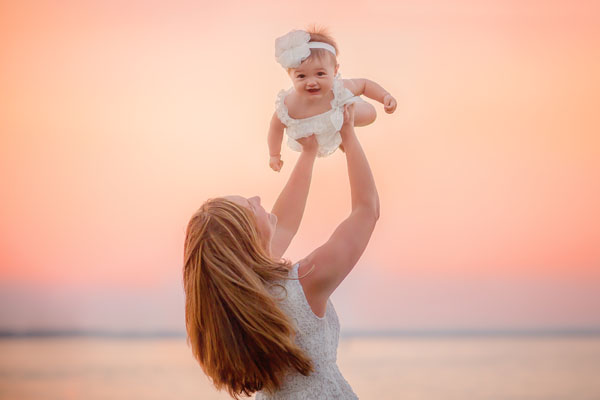
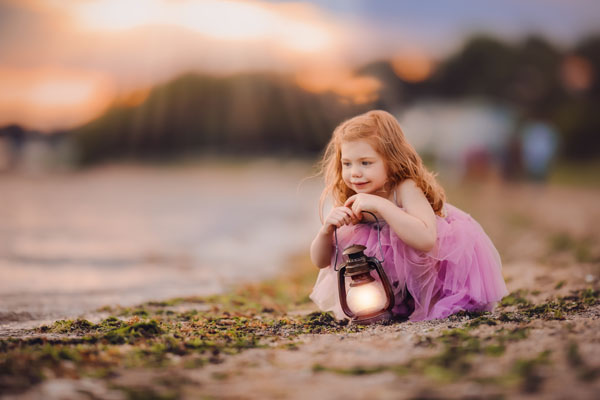
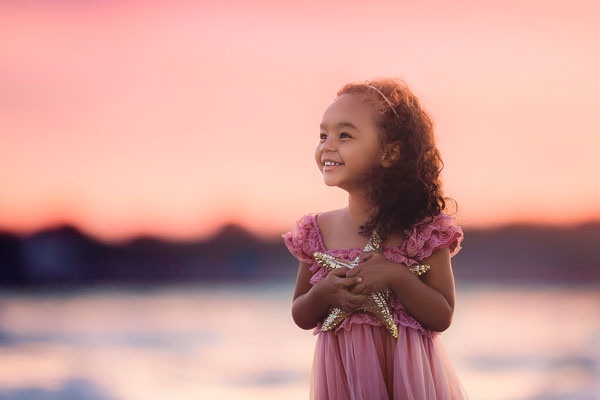
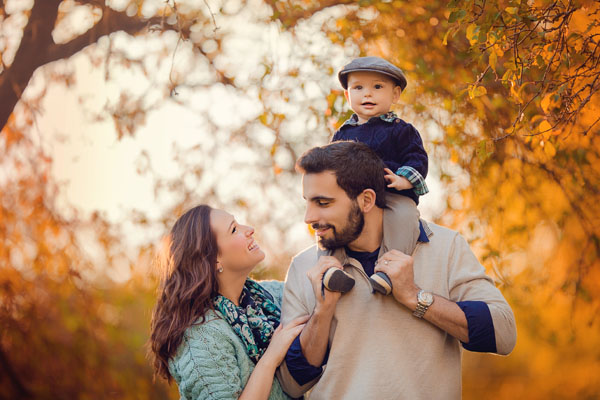
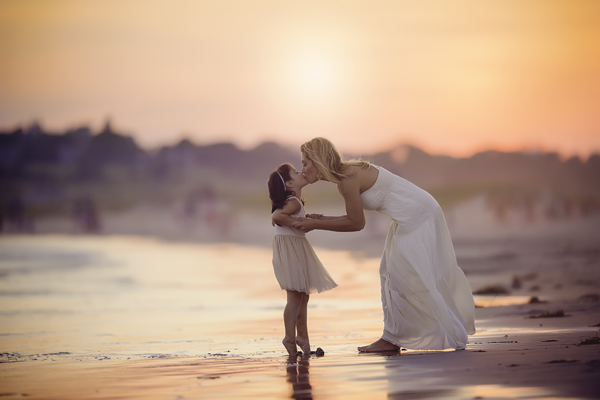
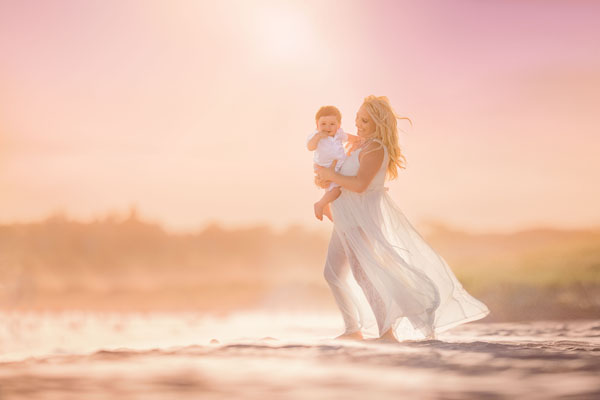
First, you could shoot during the hour before sunset. When the sun is low in the sky, the light is soft and the colors are beautifully warm.
However, this time of day isn’t always the best time for children. If sunset is around bedtime, you’re unlikely to have a happy child to photograph!
So, another option is to shoot early in the morning – before the sun is too high in the sky.
When the sun is high in the sky, you’ll get harsh shadows on your subject. And the bright light will make the child squint.
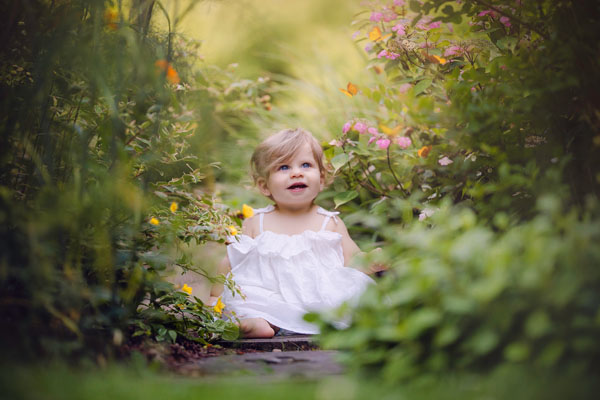
If you need to shoot during the middle of the day, find an area of dappled shade.
For example, you could position your subject beneath some trees or shrubs.
Make sure the child is positioned in a pocket of light that’s being diffused by the foliage or trees above. (You don’t want the child in dark shadow.)
I call this the “spotlight technique.” And it’s perfect for illuminating your subject in the middle of the day.
Just be careful that the shadows from the dappled light don’t fall on the child’s face or head.
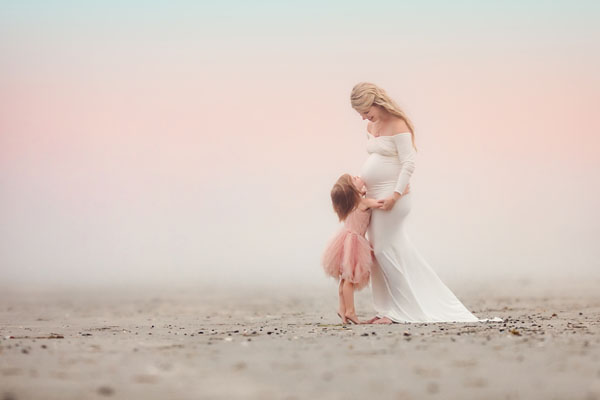
Of course, clouds and fog will diffuse and soften the light. So even in bad weather, you can capture beautiful portraits with a soft, dreamy atmosphere.
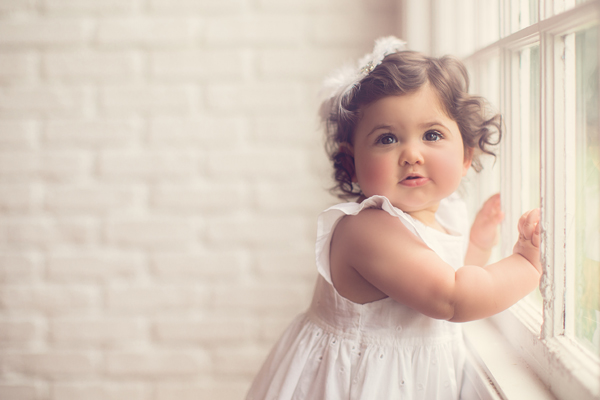
For indoor photography, all you need is a room with a window.
Just make sure you don’t have direct sunlight coming in as this can create harsh shadows on your subject.
Remember, you want the light to be soft and even.
If you shoot in soft natural light, your photos will be stunning!
3. Use Backlight Or Sidelight For Children Photography
Most people think it’s best to have the sun behind you when taking photos.
But for beautiful child portraits, this isn’t the case.
If the sun is behind you, it will shine directly onto your subject’s face. This will cause the child to squint – and you definitely don’t want that.
Bright light on the face of your subject can also result in the skin being over-exposed (too bright).
So where should you position the light in relation to your subject?
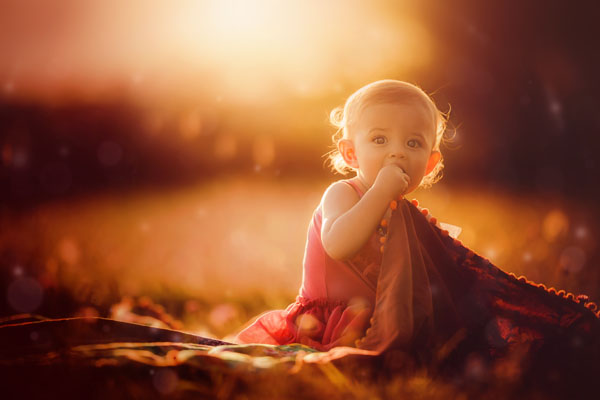
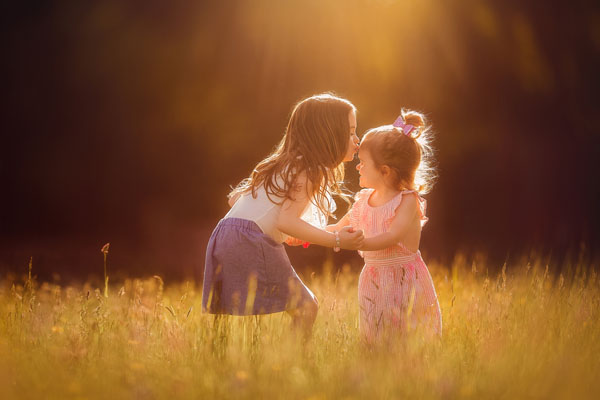
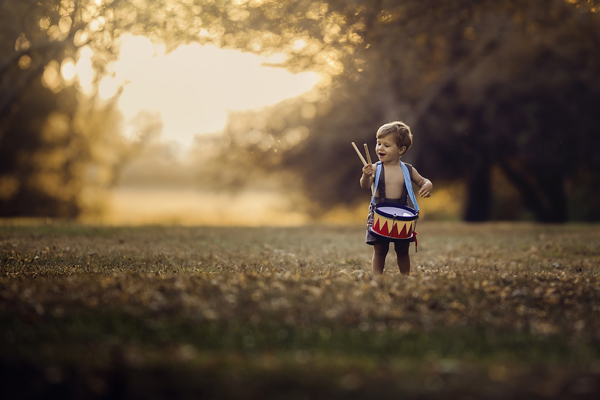
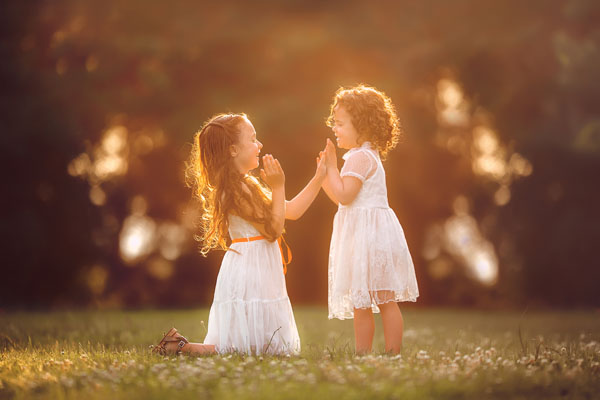
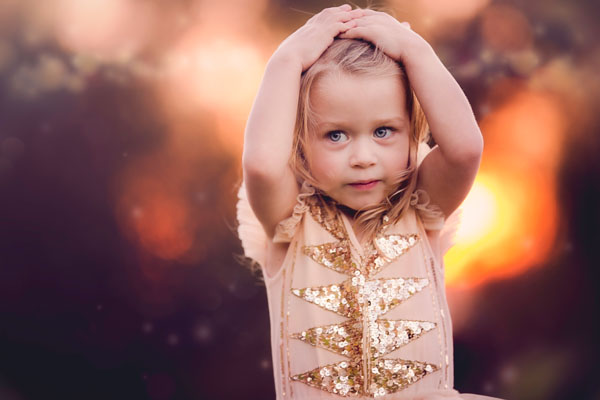
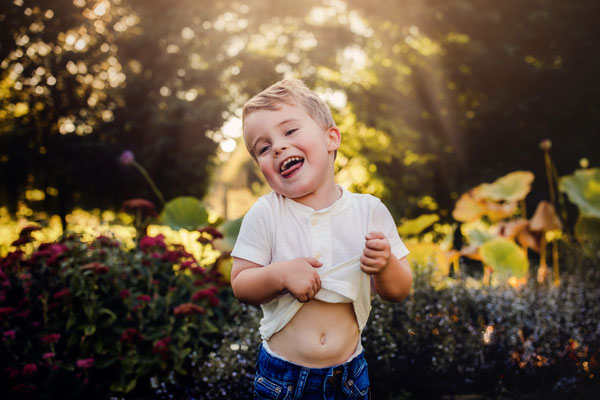
I love to backlight my subjects. This means that the light comes from behind the child.
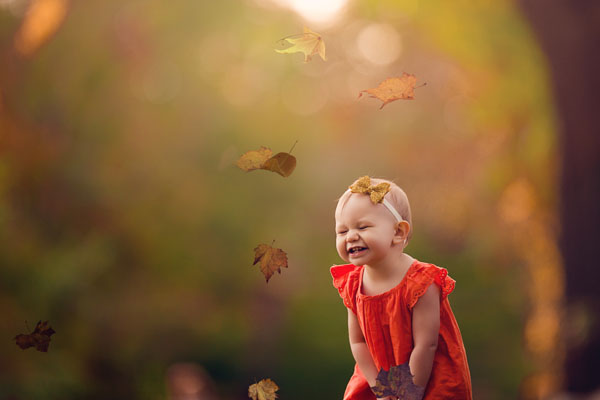
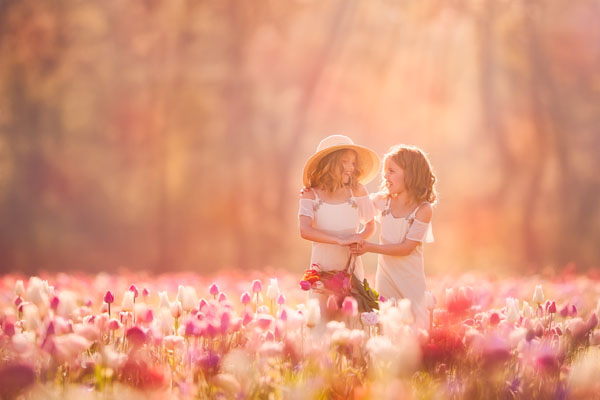
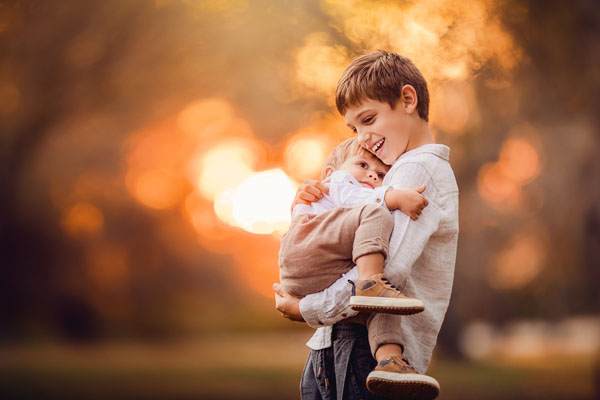
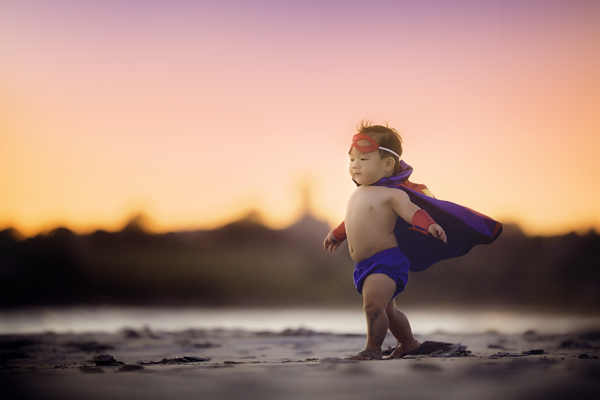
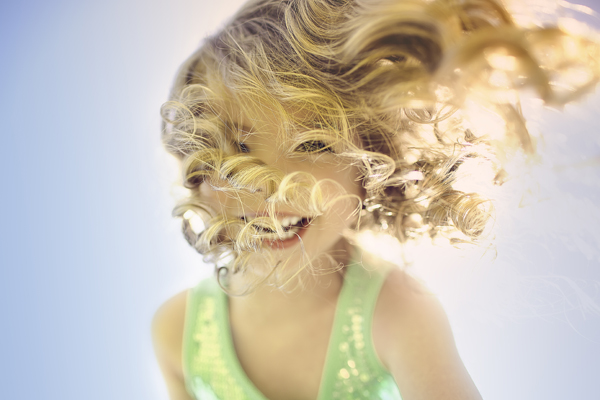
Backlighting results in magical images with a gorgeous glow around your subject.
For best results, ensure the sun doesn’t dominate the scene.
You could position the sun behind your subject or behind other objects in the scene. Or compose your shot with the sun slightly out of the frame.
Keep moving around and changing your shooting angle until you find a position that works.
Shooting from low down is a great way to get the subject to block the sun when it’s low in the sky.
Shooting towards the bright light can sometimes result in your subject appearing as a silhouette. If this happens, try to ensure the subject is blocking the sun.
You should also set your camera’s Metering setting to Spot Metering. Then ensure you set the focus point on the subject’s face. The camera will then expose correctly for the child’s face.
If your subject still appears as a dark silhouette, change your position so that the sun is illuminating the subject from one side.
This is called side lighting. And it’s a great way to light up your subjects if shooting into the sun is challenging.
Remember, the direction of the light can make a huge difference to your photos.
So, always take note of where the light is coming from. And choose a shooting position where the subject is illuminated from the back or side.
4. Include Some Interesting Props
Props are a wonderful tool for improving your children photography.
They add visual interest to your photos. They help you tell a story. And they keep older babies and children entertained during the photo shoot.
So, what kind of props work well for children photography?
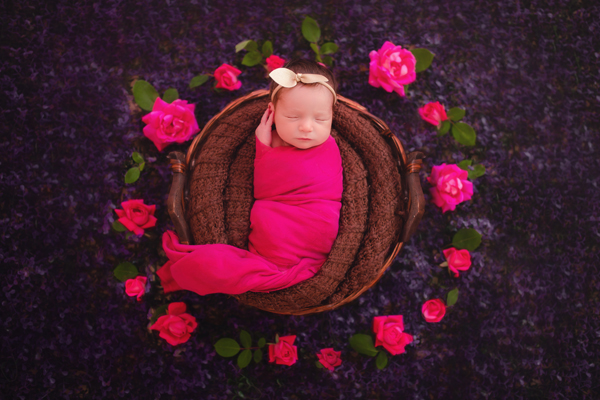
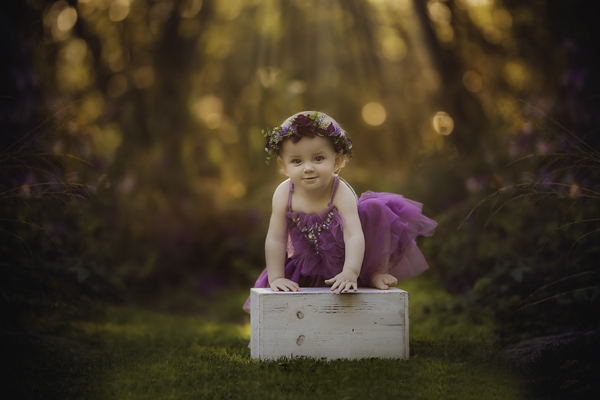
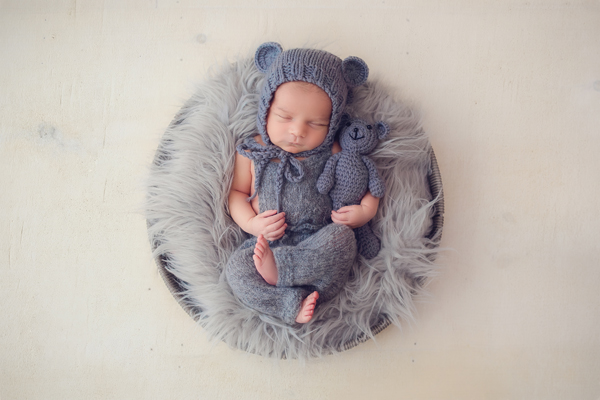
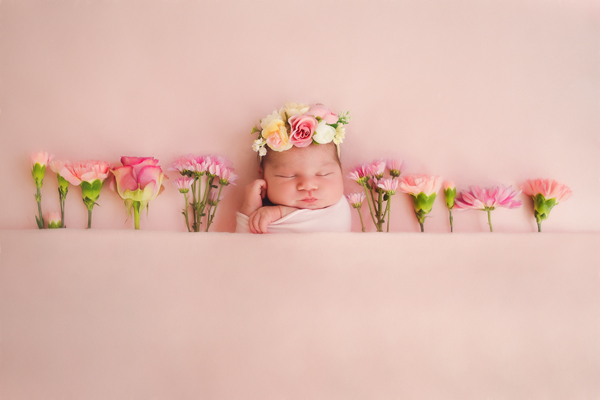
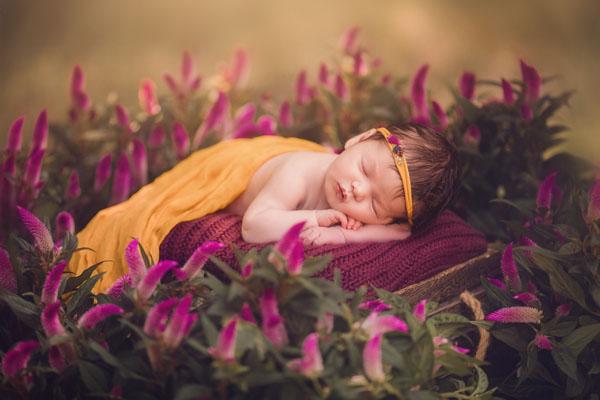
When photographing newborns, you’ll need props for posing the baby. It could be a bowl, a basket, or even a cushion covered with a soft blanket.
You can then use other props, such as flowers or soft toys, to decorate the scene.
For older babies and children, there are so many different props that you could use.
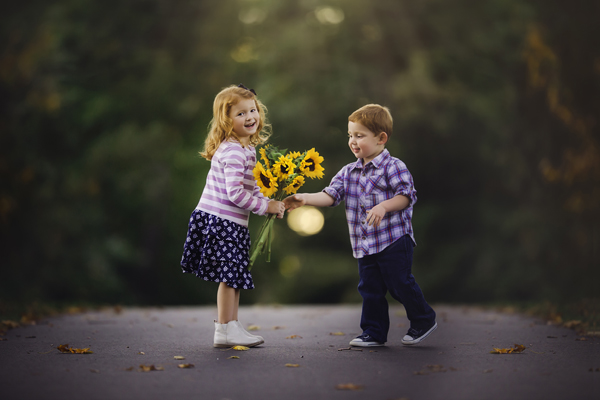
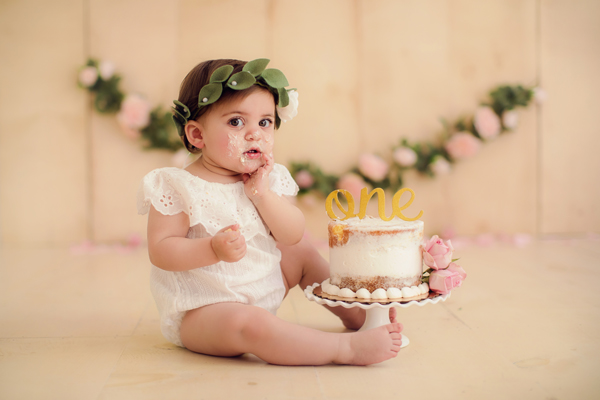
Great examples include toys, teddy bears, balloons, cakes, lanterns, and flowers.
Try to keep the props context-appropriate.
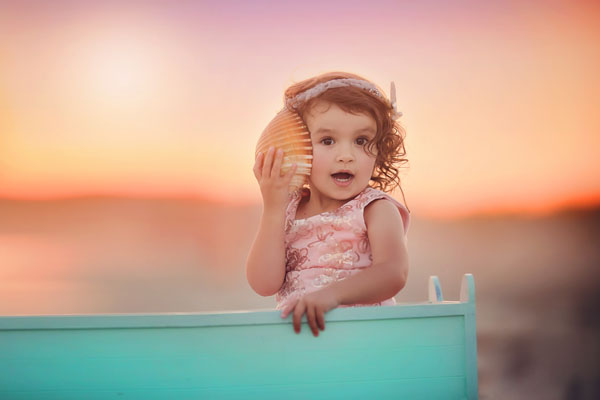
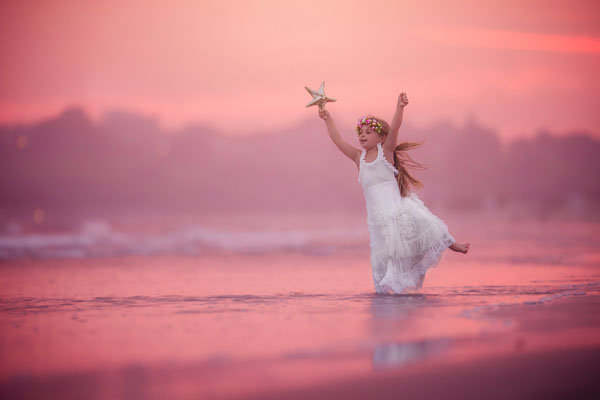
For example, if you’re shooting at the beach, give your subject some large shells to play with.
If the child has a favorite toy, they could bring that along to use as a prop in the photo.
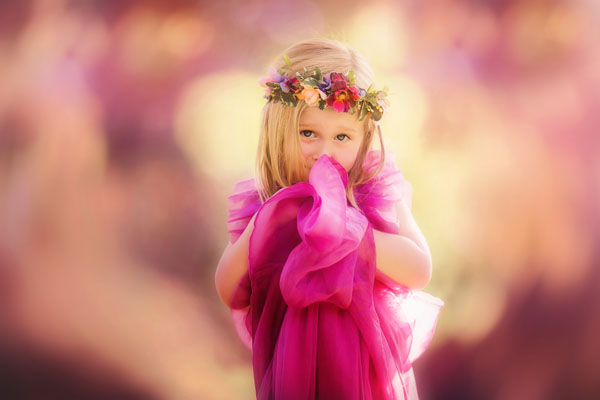
When choosing props for your shoot, think about color and how it will look in the final image.
Props that blend in with the overall color scheme of the photo are perfect. But you can also use props to add a contrasting pop of color.
Remember, props can be very simple. But they can have a big impact on the final image.
So choose your props carefully. And ensure they add to the story of the photo.
5. Capture Natural Poses & Emotions
Getting children to pose for photos is difficult. And it usually results in unnatural poses and forced smiles.
So how do you capture natural poses and expressions that show the real emotion of childhood?
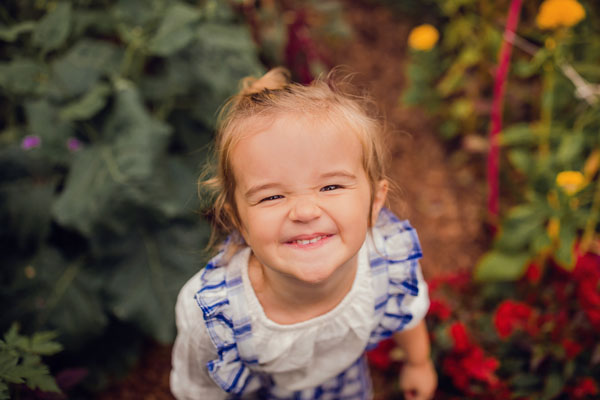
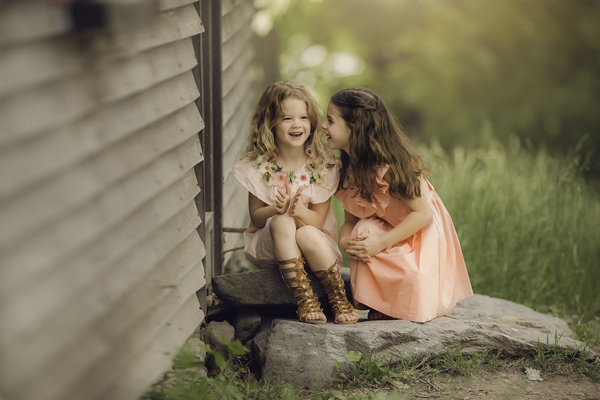
The trick is to not ask your subject to pose or smile!
Instead, try giving the child direction with simple, encouraging instructions.
Make them feel at ease by talking to them gently.
Tell them you’re going to have great fun together. Ask them questions. Encourage them to play.
Once the child feels at ease, they’ll start moving around more naturally. And you’ll be able to capture real joy and emotion as they play.
Of course, for newborn photography, you’ll need to pose the baby yourself.
For best results, you want the baby to be sleeping. This allows you to capture the serenity of those first few weeks after they’re born.
Gently lay the baby down on a soft blanket. Curl them up, keeping their hands and feet visible.
Or wrap the baby in a blanket with just their face and hands on show.
A good posing trick is to place the baby’s hands under the chin to keep their head propped up.
Once the baby is in the perfect position, take lots of photos from different angles. This allows you to capture many different shots from just a single pose.
6. Choose A Suitable Lens Or Focal Length
What’s the best camera lens for children portrait photography? What focal length should you shoot at?
There’s actually no single best lens or focal length. It all depends on what kind of shots you want to capture.
Do you want to capture a wide angle shot with plenty of scenery around your subject?
If so, a 35mm lens or focal length is perfect.
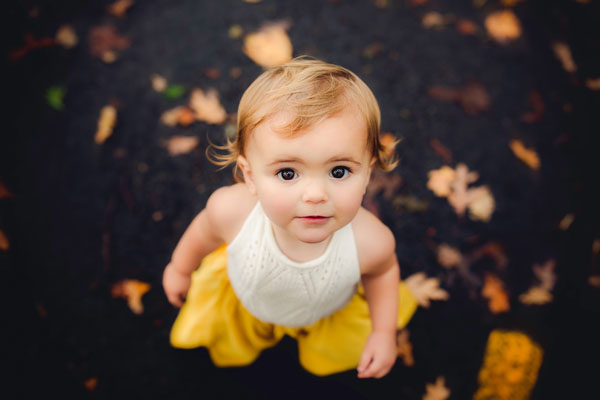
35mm is also great for shots where you want to look down at your subject from above.
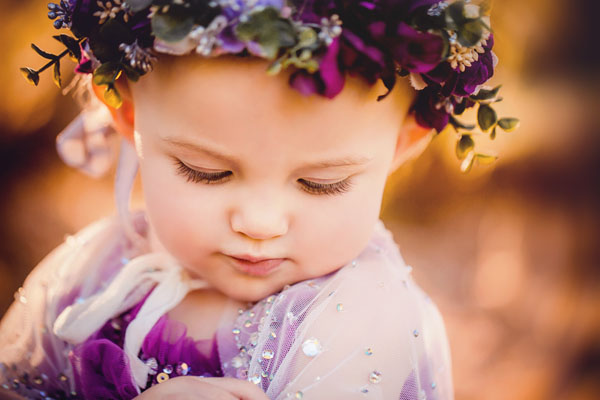
For close-up headshots, my favorite lens is the 85mm.
This lens allows you to capture close-up photos without needing to get too close to the subject.
Keeping your distance allows you to capture more natural shots as you’re not intruding on the child’s space.
You could also use a 100mm lens if you want to shoot from even further away.
If you’re shooting portraits indoors, a 50mm lens is perfect.
For the sharpest pictures, I love to use prime (fixed) lenses. But if you don’t have a prime lens, you can change the focal length by zooming in or out on your zoom lens.
7. Use A Wide Aperture For Beautiful Background Blur
How do you capture the beautiful blurry backgrounds that you often see in portrait photos?
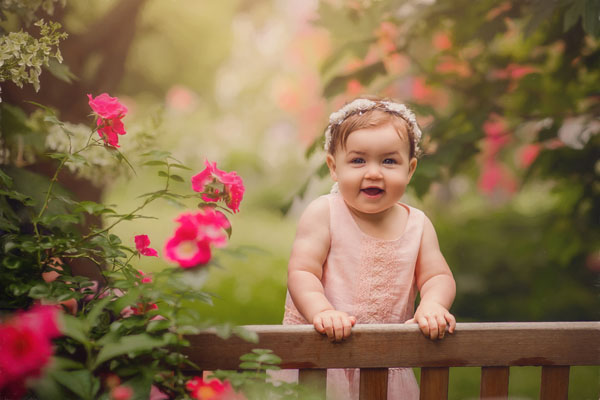
It’s actually very easy. You just need to use a wide aperture.
Aperture refers to the size of the opening in the lens. The wider the aperture, the shallower the depth of field will be.
A shallow depth of field means that only a small portion of your image will be in sharp focus while the rest appears blurred.
So, how do you change the aperture setting on your camera?
First, you’ll need to set the mode dial to either Aperture Priority mode (A or AV) or Manual mode (M).
If you’re not familiar with full Manual mode, I’d recommend using Aperture Priority mode.
This mode lets you set the aperture value, while the camera sets the correct shutter speed for you (more on shutter speed later).
Then use the thumbwheel to adjust the aperture. You’ll see the aperture value change on the screen.
(The precise method for adjusting your camera controls will vary from model to model. So you may need to consult your camera manual for specific instructions.)
Aperture is measured in f/stops, so you may see the letter F next to the aperture value on your screen.
The lower the f/number, the wider the aperture will be. So for a shallow depth of field, you need to use a low f/number.
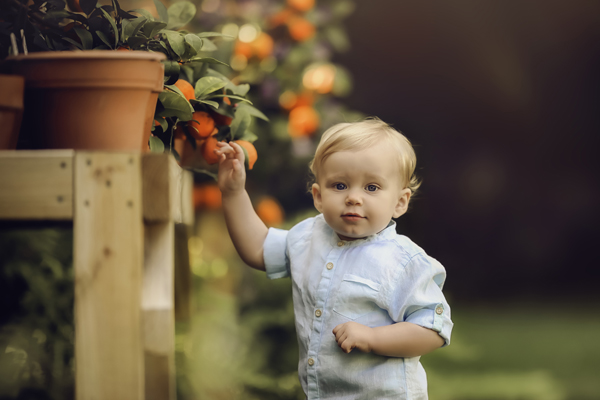
I usually use an aperture value somewhere between f/1.8 and f/2.8.
However, keep in mind that the maximum (widest) aperture will vary from lens to lens. The maximum aperture (lowest f/number) is usually displayed on the front of the lens.
If your lens doesn’t go as low as f/1.8, then just use the lowest f/number available for your lens.
If you’re purchasing a new lens, it’s worth checking its maximum aperture. Remember, the wider the aperture (the lower the f/number), the blurrier the background will be.
8. Ensure Your Subject Is In Sharp Focus
When you shoot with a wide aperture (low f/number) only a small portion of your image will be in sharp focus.
Therefore, it’s essential that the child is in focus.
If you get the focus wrong, the background might be in focus while the child appears blurred.
For the most accurate focus, I advise using Selective Focus. (Consult your camera manual to find out how to adjust the focus setting.)
Selective Focus allows you to move the focus point to a specific part of the scene. Simply use the arrow buttons to move the focus point (usually indicated by a small square on the screen).
In portrait photography, you want to focus on the subject’s face – in particular, their eyes.
But what happens if you’re photographing several people, such as siblings or a family? How do you keep them all in focus?
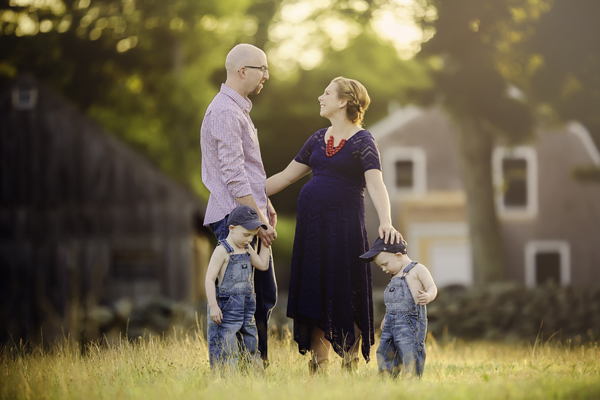
The trick is to keep them all in the same focal plane. In other words, they all need to be at the same distance from the camera.
If it’s not possible to keep everyone at the same distance, focus on the closest subject.
If you get the focus accurate, your portrait subjects will be perfectly sharp while the background appears beautifully blurred.
8. Capture Sharp Photos Of Moving Subjects
Children never stay still!
Of course, this makes for wonderfully energetic and dynamic images.
But it can also be challenging to capture good photos of moving subjects.
The subject might appear blurred as the camera captures the motion. And it can be difficult to capture the precise moment where the subject is perfectly posed.
So, what’s the secret to shooting incredible photos of moving subjects?
First, you’ll need to ensure your camera is using a fast shutter speed.
Shutter speed refers to the amount of time the camera’s shutter remains open. Fast shutter speeds freeze motion, while slow shutter speeds capture movement as motion blur.
If you’re shooting in Manual mode, check your camera manual to find out which button or wheel adjusts the shutter speed.
If you’re shooting in Aperture Priority mode, the camera automatically sets the shutter speed for you.
However, you can increase the shutter speed by bumping up the ISO. (Check your manual to find out how to adjust ISO).
ISO controls the camera sensor’s sensitivity to light. Increasing the ISO makes the camera more sensitive to light. And this allows the camera to use a faster shutter speed.
The higher the ISO value, the faster the shutter speed will be.
However, keep in mind that high ISO values can introduce unwanted grain into your photo. So only go as high as you need to. And check your images to get an idea of how much grain is being introduced.
For children photography, you’ll want a shutter speed of at least 1/200 (200th of a second).
But if your subject is running, you’ll probably need a faster shutter speed, such as 1/500 or faster.
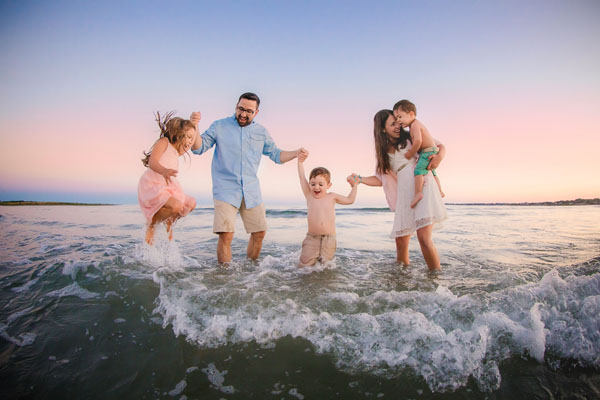
For jumping shots, I often use a shutter speed as fast as 1/1600.
Finally, you might want to use Burst/Continuous mode when photographing moving subjects.
You can then keep the shutter button held down, taking a series of shots in quick succession.
This increases your chances of capturing the perfect moment as your subject moves through the scene.
With a bit of practice, you’ll probably find you no longer need to use burst mode. Instead, you’ll anticipate the movement of your subject and press the shutter at precisely the right moment.
But if you’re new to shooting moving subjects, burst mode is definitely a useful tool!
9. Expose For The Child’s Face
Exposure refers to the brightness level of an image.
And it’s really important to get the exposure right when you take photos.
You don’t want images that are too dark (under-exposed) or too bright (over-exposed).
For a photo with great color and detail, you need it to be correctly exposed.
So, how do you ensure your portrait photos are well-exposed?
Here’s the secret:
Expose for the subject’s face.
In other words, you want the face to have the perfect brightness level. If the background ends up slightly too dark or bright, it doesn’t really matter.
The important thing is that your subject is correctly exposed.
So, how do you expose for the subject’s face?
First, set the Metering mode on your camera to Spot Metering.
Now, when you set the focus point on your subject’s face, the exposure will be set correctly for that small area of the scene.
It’s often a good idea to slightly under-expose your image.
This will help to ensure the highlights (bright areas) don’t become over-exposed. And you can always brighten up the shadows (dark areas) in post-processing to make the image pop.
If you’re shooting in Aperture Priority mode, you can use the Exposure Compensation (EV) option to adjust the exposure slightly.
If you’re shooting in Manual mode, you can darken the exposure by using a faster shutter speed or a lower ISO.
Whichever method you use, it’s definitely worth taking a few moments to get the exposure right.
The result will be a beautiful portrait photo with gorgeous color and detail.
10. Think About Composition
Good composition is a key element in creating eye-catching photos.
So how do you compose beautiful child portrait photos?
First, consider the angle or perspective that you shoot from.
A great technique with children photography is to shoot from a low perspective. I like to get really low – often lying down on the ground and angling my camera up.
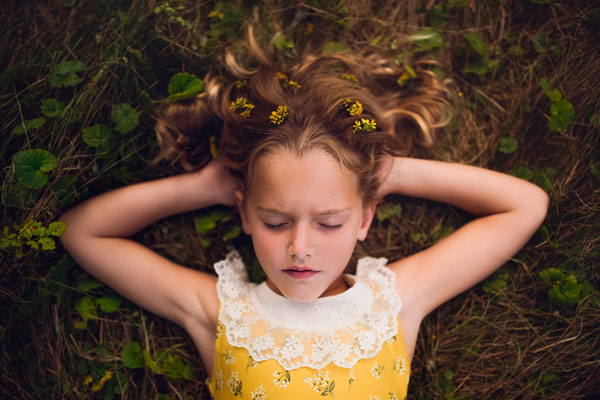
Of course, you can also do the opposite and shoot from above. This works particularly well with newborn photography or if your subject is lying on the ground.
It’s also a good idea to take a variety of shots from different distances.
Shoot close-up headshots. And shoot from afar so that you capture the surroundings.
Before you take your shot, decide where you want to position your subject within the frame.
A good starting point is to use the rule of thirds. This “rule” states that you should position your subject off-center rather than in the middle of the frame.
An off-center composition creates beautifully balanced photos that are pleasing to the eye.
It’s also a great composition technique for moving subjects.
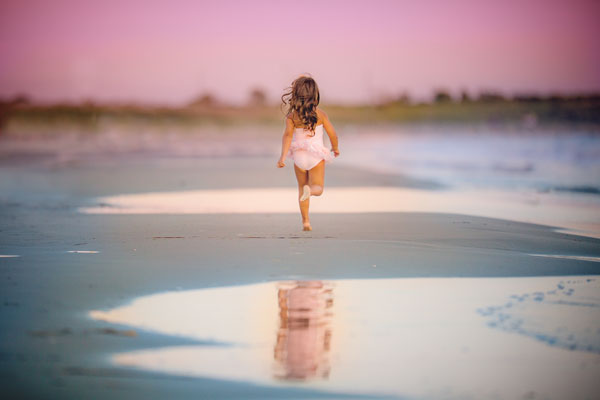
If the subject is moving through the scene, leave more space in front of them than behind them. This creates a sense of the subject having space to “move into.”
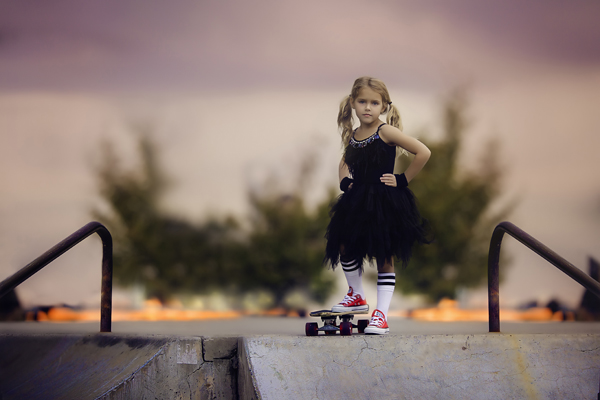
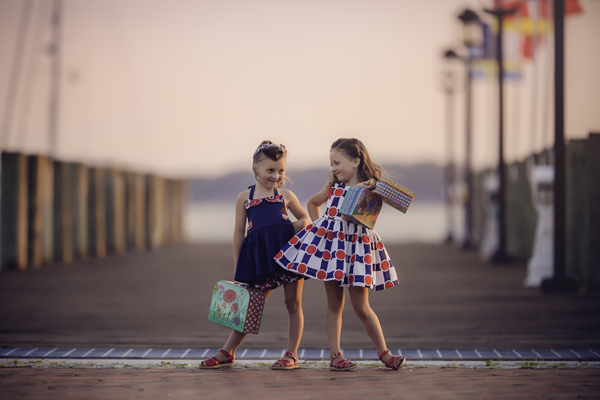
It’s also a good idea to look out for leading lines that you can use in your composition.
Leading lines are lines that lead the eye from the foreground to the background. They add depth to the image and help to lead the eye towards the subject.
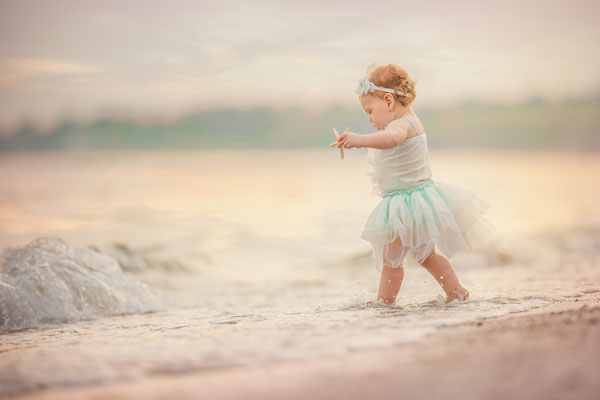
You could use paths, roads, fences, railings, or even the water’s edge on a beach as a leading line.
Just ensure you compose your photo so that the line leads from the front of the image into the distance.
If you put a little bit of thought into composing your photos, they’ll really stand out from the crowd!
About The Author
Tracy Sweeney, owner/photographer of Elan Studio and author of Kids: Photos to Brighten Your Day, is an award-winning child, family, and commercial photographer who was recently named Photographer of the Year 2018 by the National Association of Professional Child Photographers. Tracy’s work has been featured on the Hallmark Channel, People.Com, Today.Com (Today Show), and various publications. Tracy loves capturing simple, candid moments, and the indelible beauty of new beginnings and life. She is also an educator with a Masters Degree in Education and Doctoral work in Curriculum, Instruction, and Technology.

