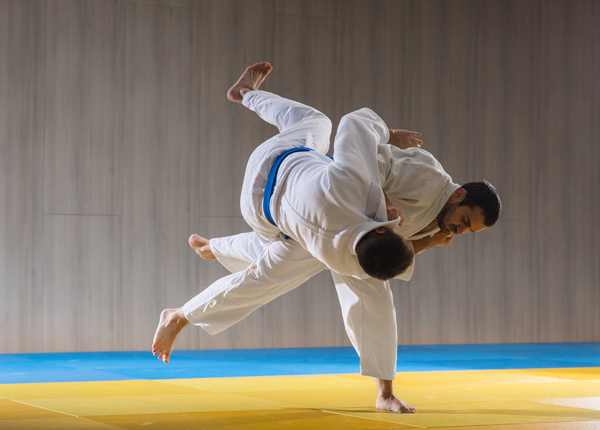
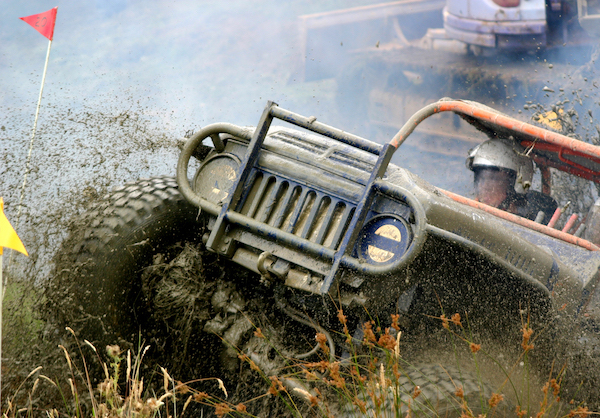
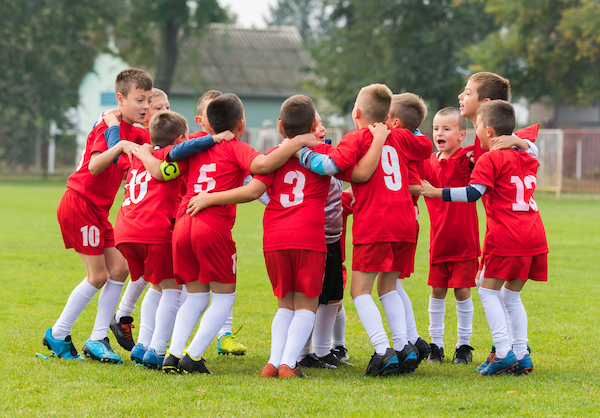
Sports photography is one of the most challenging types of photography. Fast-moving subjects are far more difficult to shoot than still subjects. Whether you’re shooting your kids’ sports events, or covering an amateur or professional sporting event, the tips in this article will help you become more confident with sports photography.
1. Understand & Anticipate The Subject’s Movement
Each sport is different and, therefore, requires a different approach to shoot properly. Before you attempt sports photography for a sport you’ve never covered before, do your homework. Attend a sports event as a spectator, or watch the sport on YouTube. Pay close attention to the behavior of the participants. Are there moves or transitions that look more dynamic and interesting than others? How long does each element of the competition last? Will you have time to reposition yourself?
For sporting activities where the competitor has some creative control over their performance, take time to talk to them first. Ask if they’re happy for you to photograph them, and see if they’ll give you a heads-up about something they’re going to attempt. Most people will be happy to help you get the shot, especially if you promise to email them a digital copy.
Competitors, especially experienced and skillful ones, will usually look where they’re going to go next. Looking out for visual clues about the competitor’s intentions can really help you be ready for the next shot.
2. Familiarize Yourself With What Kind Of Shots Are Expected
Sports photography can often be frustrating – especially when you start out. Often, you’ll take great photos only to have people familiar with the sport criticize them for some minor detail. That’s ok – it happens to everyone.
One solution is to talk to the competitors, or their entourage. Explain that you’re new to the sport and ask what you should be looking for in a good photo. Most people will be more than happy to oblige.
The shortcut to discovering what shots work is to study other people’s shots of the sport you want to shoot. You can bet that the magazines and websites will only use photos that their customers or readers like. Then, try and mimic these type of photos yourself when you shoot this kind of sporting event.
3. Position Yourself In Relation To The Subject’s Position & Direction
Generally speaking, for human sporting subjects, if your subject’s face can be visible, then it should be. Anything from side-on to head-on will work, but somewhere between gives a better sense of depth.
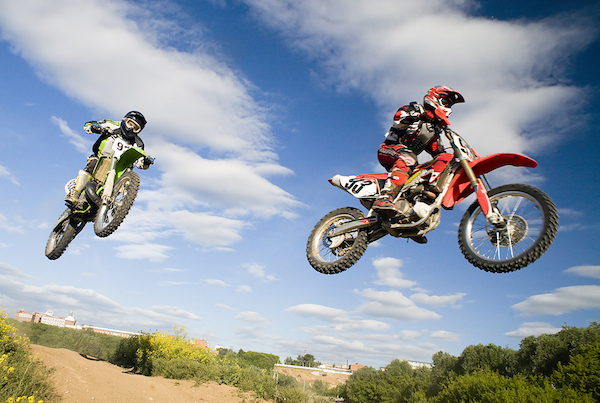
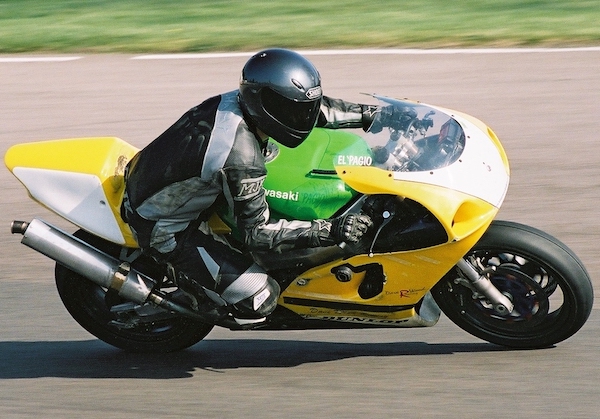
Racing cars can look fantastic head-on, but narrow subjects, like horses, ponies, bikes, and motorbikes don’t fill the frame enough. Therefore it’s best to try and shoot these kinds of subjects somewhere between side-on and halfway between side-on and head-on.
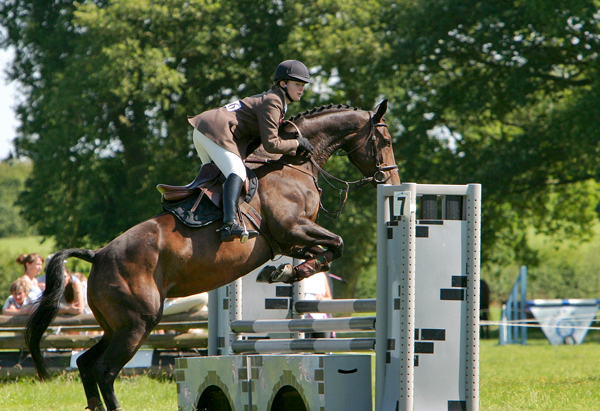
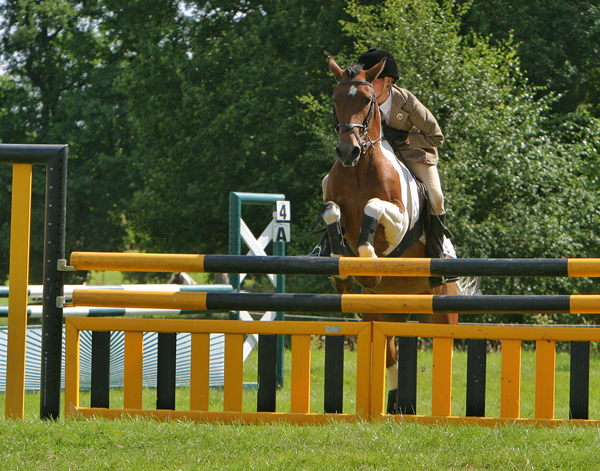
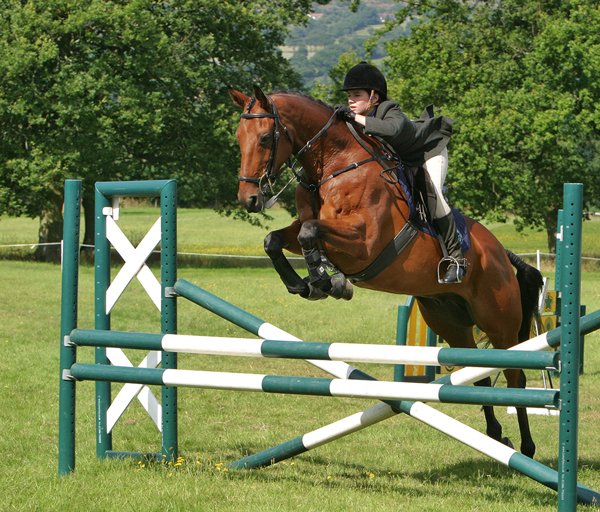
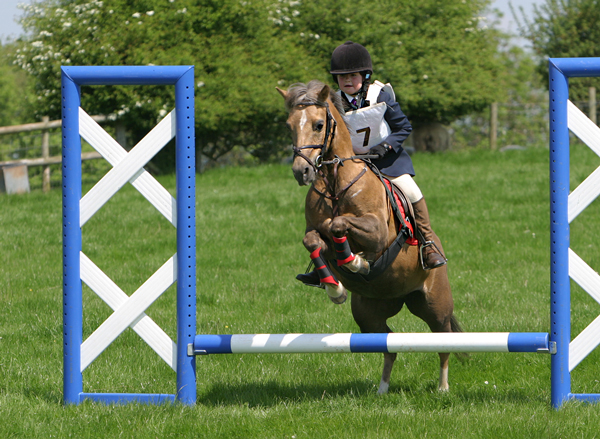
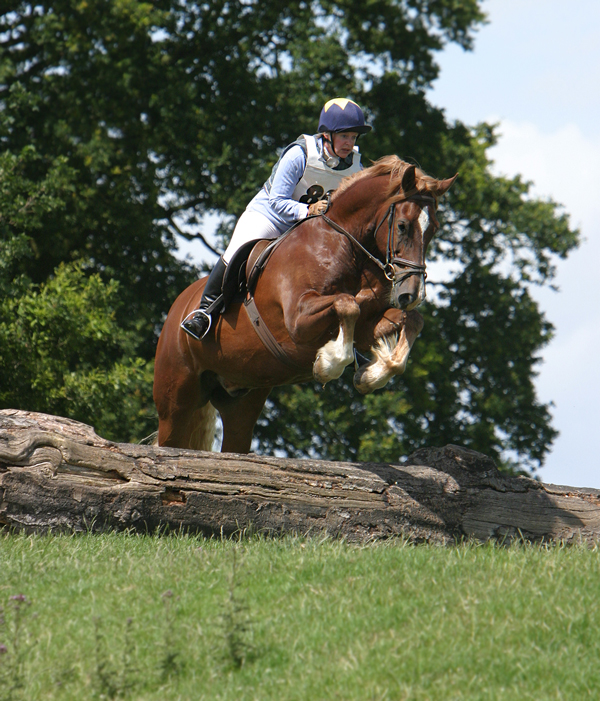
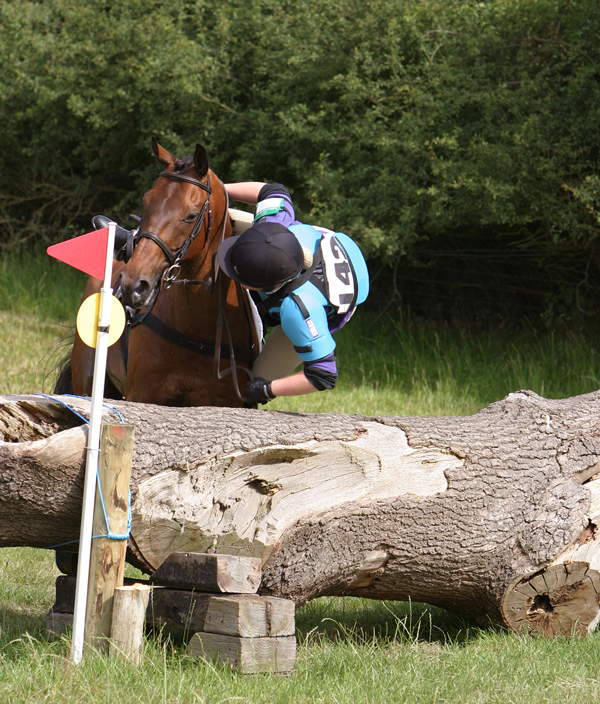
For equestrian photography, the horse’s head can obstruct the rider’s face, which isn’t desirable. With showjumping, a rider will usually try to keep their head slightly to one side or the other of the horse’s head, to avoid making contact during the jump. If they choose the opposite side to where you’re standing, you may not be able to capture the rider’s face.
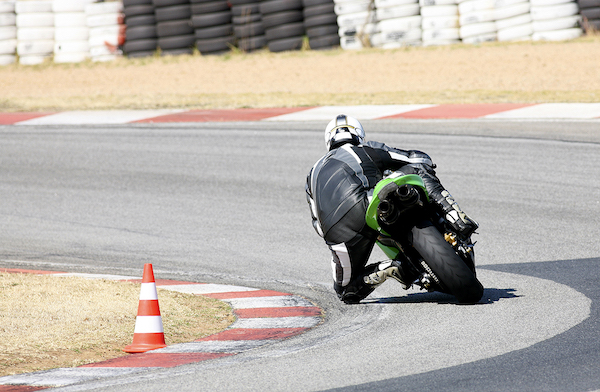
There are always exceptions to the rule: motorbikes and racing cars often look really good from behind.
4. Position Yourself Relative To The Sun’s Position & Direction
When shooting outdoors, the best light is the kind you get on a slightly overcast day – with no direct sunlight. However, you can’t control the weather – so it’s important to know how to work in any conditions.
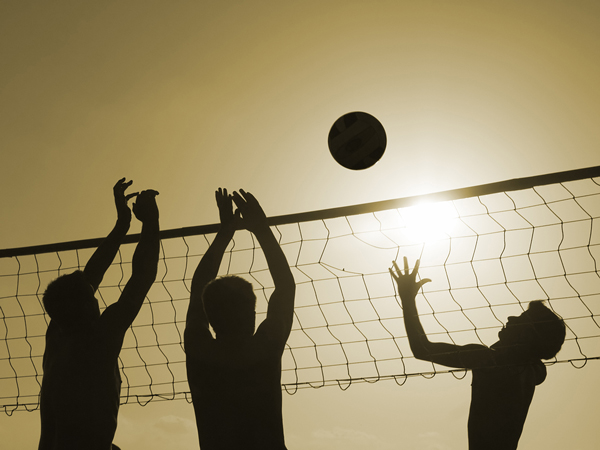
Always try to shoot your subjects with the sun behind you. This ensures your subjects are well lit. If you shoot into the sun, you’re more likely to end up with silhouetted subjects.
However, shooting into the sun can work to your advantage – giving you the opportunity to capture subjects in silhouette – as can be seen below.
Direct sunlight creates hard, dark shadows and bright highlights. Digital cameras aren’t able to capture detail in both extremes – the near black and the near white.
Therefore, try to make sure the most important part of your subject is well exposed. If the subject’s face is visible, then expose for the face to reveal the facial features. Do this even if it means other brighter areas of the scene being a little too bright, or darker areas being a little too dark.
5. Position Yourself For A Great Background
Most sporting locations offer multiple backgrounds to shoot against. In a sports stadium, you could frame some shots to include the spectators as the background, or use the playing field, by finding a slightly elevated position to shoot from, and shooting slightly downwards.
At equestrian events, there will be a mixture of natural backgrounds (rows of trees, distant hills) or acceptably aesthetic backgrounds which add context, like fences, spectators or stables. However, there will also be burger vans, spectators with luminous jackets, and advertising banners. From a purely aesthetic point of view, these aren’t desirable at all as backgrounds.
If you want the best results, or hope to sell your photos to competitors you’ll have more luck with cleaner, less cluttered backgrounds.
6. Position Yourself With Safety In Mind (Yours & Your Subject’s)
Sports photography can be dangerous – for the competitors and for you. Make sure you understand the risks associated with the sport you’re photographing. When you’re new to a particular sport you’re unlikely to know all the risks – so if you’re in any doubt, ask an expert, or someone in a position of authority, where it is safe to stand and whether there are any particular risks or hazards you need to be made aware of.
For example, with equestrian event photography, horses are notoriously unpredictable and easily spooked. People who’ve spent their lives around horses know how to behave around them. For the rest of us, we can either learn the hard (painful) way, or take extra care to keep out of their way, not move suddenly, and try not to influence the horse’s behavior in any way.
From my own experience of equestrian event photography, I was surprised to be allowed inside the showjumping arena the first time. This was perfect for getting great photos but also meant I had to constantly check my position in relation to the horse’s, which was quite stressful.
7. Set Your Camera Up For Fast Moving, Distant Subjects
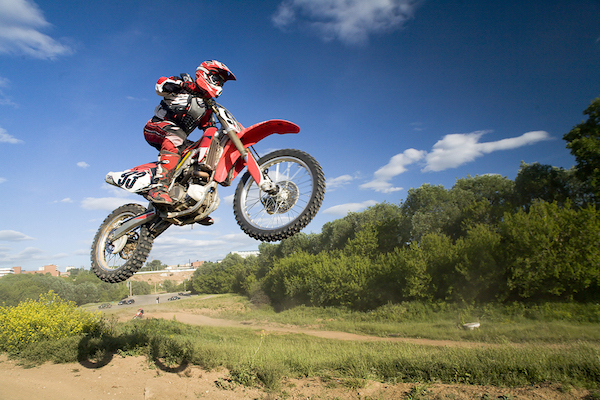
Sports photography usually dictates that you are a safe distance away from fast-moving subjects. This means you’ll need your longest lens. Large subjects (such as cars and horses) can often be shot with the long end of a 70-200mm lens. Smaller subjects – such as runners, cyclists, motorcyclists, snowboarders, skiers and skateboarders – may require slightly longer lenses – 300mm and upwards. You can use shorter lenses, but you’ll need to be closer to the action to get good shots.
If your lens or camera has image stabilization, enabled it as this will help minimize blur caused by unsteady hands. However, it’s important to understand that image stabilization cannot compensate for moving subjects.
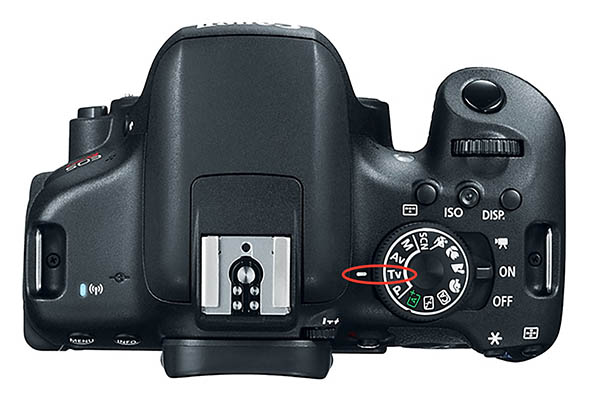
In sports photography, because you’re shooting fast-moving subjects, choose Shutter Priority (TV or S on your camera’s shooting mode dial). This lets you control the shutter speed and tells your camera to choose a suitable aperture and ISO, to complete the Exposure Triangle.
To capture your subject with little or no motion blur you’ll need to use a fast enough shutter speed. The rule-of-thumb is to make sure you select a shutter speed which is faster than 1/focal length. So, if your lens is set to a focal length of 200mm, then you need a minimum of 1/200s shutter speed. Your camera may only offer 1/180s or 1/250s – so go for the faster shutter speed – 1/250s.
8. Increase Subject Sharpness Using The “Panning” Technique
As you discovered above, image stabilization can’t compensate for the movement of your subject, only your own unsteady hand movement as you hold the camera. To compensate for the subject’s movement, you need to try and keep the subject stationary in the viewfinder.
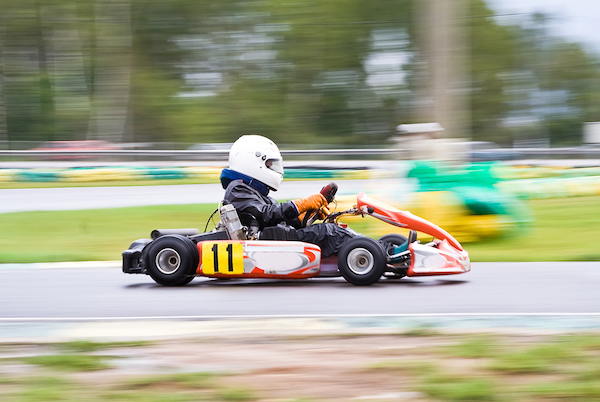
The most effective way to do this is to use a technique known as “panning”. Once you’ve decided where you’ll press the shutter, pick up your subject well before he arrives there. Follow his movement with the camera, trying to keep a little space in front of him. Keep tracking your subject smoothly and, as you reach your chosen point, press the shutter button, without stopping the smooth movement of the camera. Follow through, even after you’ve pressed the shutter. This will result in much better, sharper shots, with even more blurry backgrounds, helping your subject stand out better.
9. Intentionally Blur Parts Of Your Subject
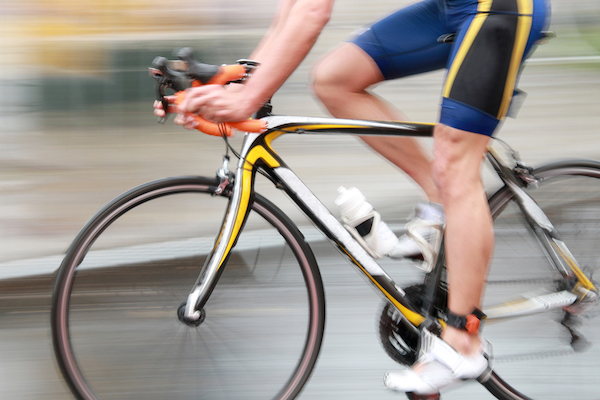
Once you get really good at panning, you can experiment with slightly slower shutter speeds to introduce more background blur, or intentional subject blur. This is where you deliberately allow for the fastest moving parts of your subject to become blurred. This could be the fast-spinning wheels of a car, bike or motorbike, or the legs of a runner or horse. It’s a risky strategy but one that can result in stunning photos which really convey the subject’s movement.
10. Leave Space For Your Subject To Move Into
A common mistake all photographers make from time to time is to plonk the subject bang smack in the middle of the scene. This is bad enough with a stationary subject, but the problem is compounded with a moving subject. Without space for the subject to move into, the photo can feel cramped, due to the overly tight crop.
By leaving enough space in front of the subject (in the direction of its movement) the viewer is able to see where the subject is going, even if it’s just several feet of space. This emphasizes the sensation of movement and results in more dynamic and aesthetic sports photos.
11. Take Control Of Depth Of Field For Extra Sharpness
Of course, you’ll want as much of your subject in focus as possible. With a fast shutter speed selected, your camera may have to use its largest available aperture. This is in order to capture as much light as possible in the shortest space of time. A side-effect of large apertures is a shallow depth of field – where mostly everything in front of and behind your subject appears blurry or out of focus. The photo below illustrates this, with the grass in the foreground and the tree in the background both nicely out of focus.
This is highly desirable, but if the depth of field is too shallow, important parts of your subject may be out of focus. One trick here is to bump up your camera’s ISO setting – so that the sensor becomes more sensitive to light, and your camera can choose a slightly smaller aperture. This will give a larger depth of field, and more of your subject in focus.
12. Check Your Results In-Camera
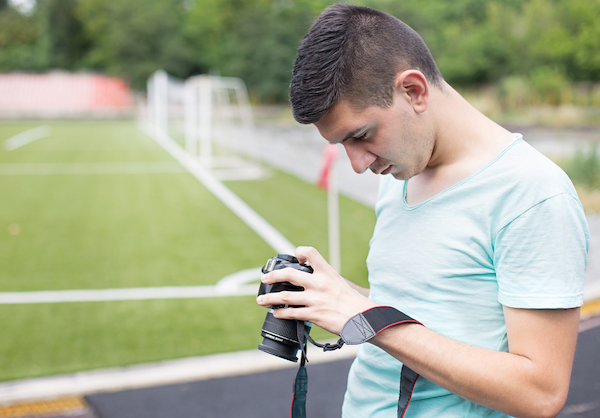
Few things in sports photography are more frustrating than getting home after a long day shooting, only to discover that 99% of your shots were blurry, badly composed or badly timed. This is easily prevented by checking your photos in-camera, using the camera’s LCD display. It’s commonly known as “chimping” – because photographers hunched over their camera checking their images can look a little bit like monkeys!
However, it’s advisable not to check every single shot, since this will drain your camera battery more quickly, and you might miss valuable photo opportunities.
So, just check your images whenever there’s a significant change in circumstances – like a change of position, or if the sun disappears behind clouds.
13. Be Ready To Adapt For Each Competitor
No two competitors are alike. Each one will have a slightly different line, speed and execution style. The amount of variation will depend on the sport in question. The fastest motorsports tend to have the least amount of variety when it comes to racing lines, particularly on the fastest corners. Equestrian showjumping and some slower, more technical sports give competitors more freedom to choose their route or approach to features such as jumps or corners.
The first time you shoot a particular subject is an opportunity to check how they work. When you see them again, later in the day, you can be ready to shoot them even better than the first time.
In equestrian show-jumping for example, the riders only have to complete the course by executing each jump in the correct order. Barring a few exceptions, riders can choose how they get from one jump to the next. One rider might go left. Another might go right. Even if you can remember which way a rider went previously, you need to be ready for them to choose a completely different direction.
14. Look For The Story, Drama, Emotion & Humour
Fast moving subjects give you very little time to react to unexpected moments – so you need to develop a sixth sense about when they might happen. A misbehaving horse will likely rear up at some point, and a race car or motorbike struggling with grip is likely to spin out dramatically. Being able to predict such moments will increase your chances of capturing some really exciting shots.
Whether a competitor performs badly or well, there’s usually a reaction. This could be during a round or a lap, as they celebrate a good jump or a fast lap, or after the round or race is over, when they realize they were too slow. Try to capture the highs and lows experienced by the competitors.
Nobody wants to see competitors get hurt, but dramatic photos of when things go wrong can be really spectacular. A horse rearing up or crashing through a fence it’s trying to jump, or a downhill mountain biker making an unscheduled exit from his bike: these kind of sports photography shots are really popular.
15. Aim For Consistency First – Then Adjust For Perfection
Timing is one of the key ingredients for great sports photography. It’s all about pressing the shutter button at the right time. Some sports require great timing, and others don’t. With motorsports, it doesn’t much matter if you press the shutter button half a second early or half a second late – the subject will likely look much the same. However, where the sport involves momentary actions, such as a jump, timing is critical.
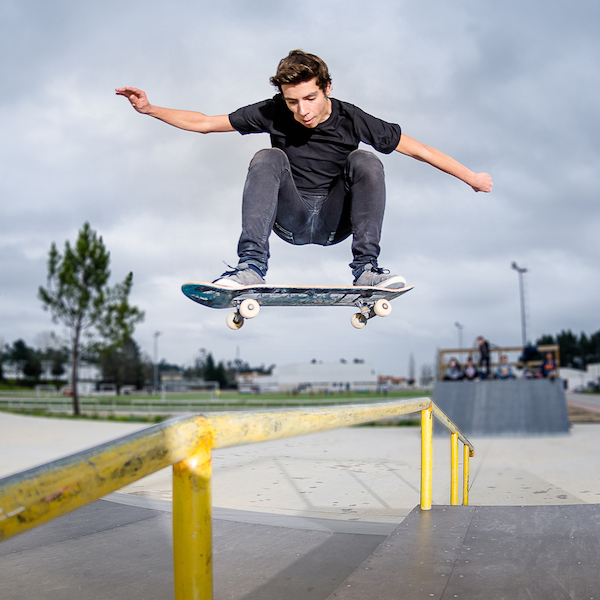
You can spend years trying to get the timing right, but a short-cut to success is to try and do the same thing every time. So, press the shutter button as the skateboarder has finished crouching down ready for a jump. If you get the same results each time, but not the results you want, then you have managed to get consistency. Next, you need to make small adjustments for perfection.
But making small adjustments isn’t easy. It’s very difficult to press the shutter button 1/10th of a second later. So try introducing the required delay by having your finger slightly off the shutter button. Your finger will have a little further to travel before the shutter button is activated. This gives you the extra time needed to get the right timing for the shot you want.
Alternatively, look for a different cue. Instead of watching for the skateboarder to finish crouching down, wait for his legs to straighten. Your results will be different when you make changes like these. The trick is to figure out which change to your consistent approach delivers the best result.
Sports Photography: Conclusion
Sports photography is a fantastic way to get more photography experience, with a little more pressure and adrenalin than everyday photography. This can really boost your confidence as a photographer, as more and more of your subjects get excited about the photos you create. Hopefully, in this article you’ve discovered several practical tips you can apply to your sports photography which will help you achieve more professional results.

