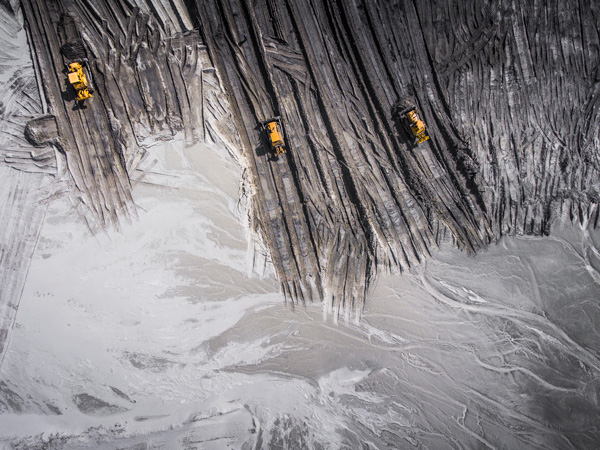
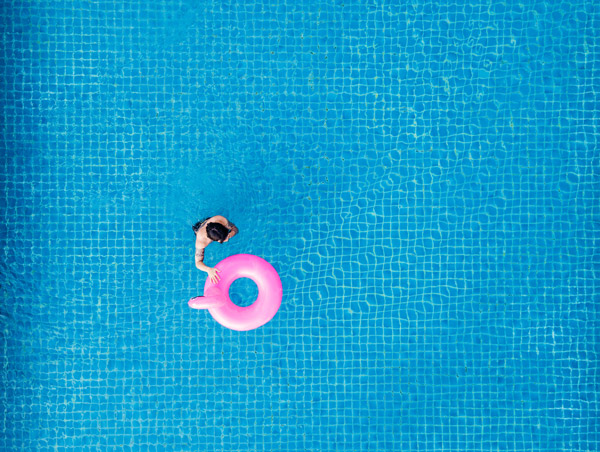
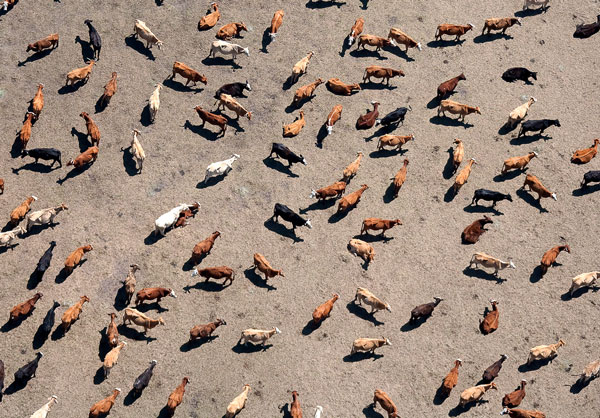
Drone photography has become one of the biggest growth areas in photography in recent years. The ability to put a high-quality camera in the sky and capture stunning aerial photographs of the landscape below is extremely compelling, and the results can be out of this world. In this article, you’ll discover eight tips which will help you understand the practical, safety and legal considerations, which equipment you’ll need, where to go to get vital training and certification (if you plan to work commercially), and show you breathtaking examples of drone photography.
1. Equipment: What You’ll Need For Drone Photography
Drone photography equipment ranges from off-the-shelf solutions which have everything you need to take aerial photos and video footage, through to individual components you can purchase and assemble to create a very unique and personal solution.
Now, let’s look at the most important components used in drone photography.
The Drone
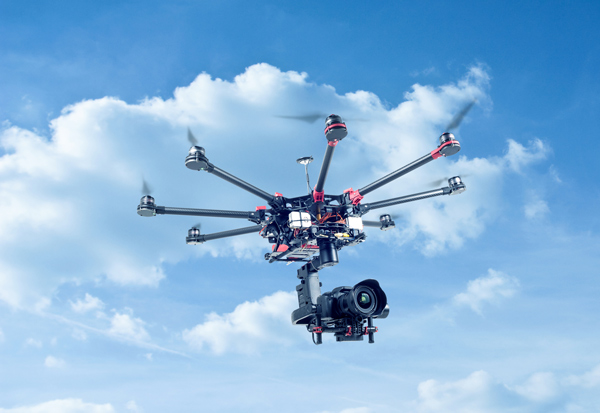
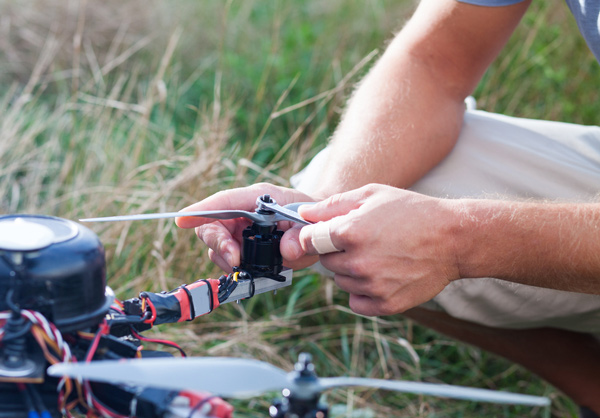
A drone is a flying device with multiple propellors which allows it to fly around and hover in one spot.
Drones vary greatly in size. There are tiny plastic toys for indoor use. You can buy larger, drones with integrated gimbals and cameras for outdoor use. There are also professional, large, carbon-fiber drones with retractable legs and longer flight times. These offer serious performance and the best drone photography results.
A Learner Drone
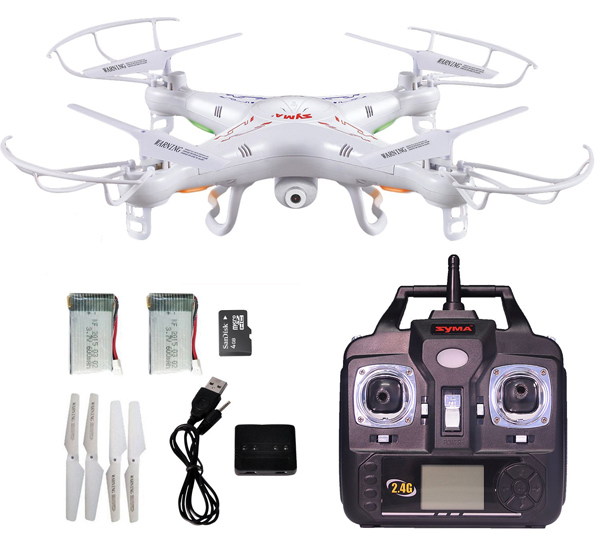
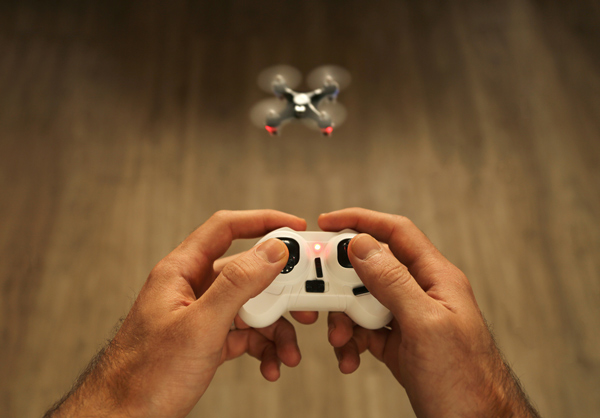
A good learner drone that won’t break the bank is the SYMA X5C-1 RC Quadcopter. Priced at just under $60 it comes with a proper transmitter rather than the smaller, toy-like transmitters found on other cheap models, and includes many spare parts.
It can be used indoors, if you have enough room, but also outdoors in light winds. The camera isn’t its strong point, but as a cheap way to learn the basics of drone flight, this is a good option.
Intermediate Drones
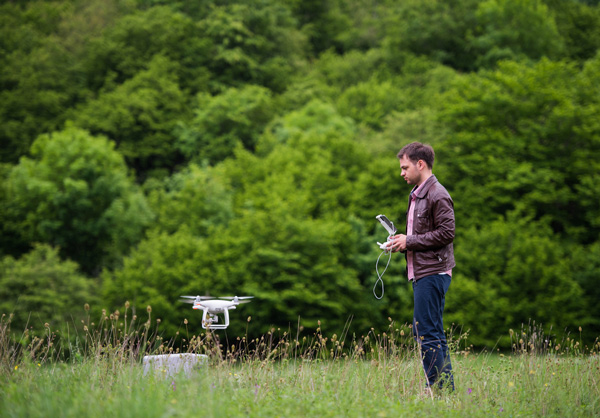
If you want a drone with an integrated gimbal and camera which is capable of more professional results, then look at the range of drones from DJI.
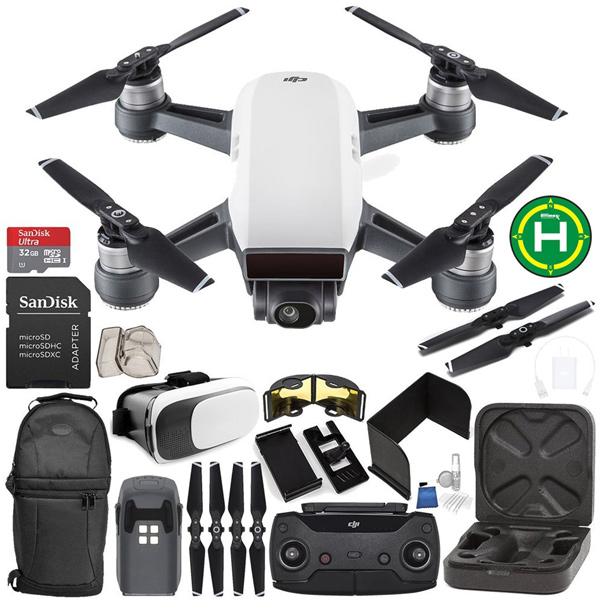
At the budget end of the spectrum you have the $549 DJI Spark which includes a camera capable of video and 12MP still images, GPS positioning, 16 minutes flight time, and an FPV headset which lets you see what the drone’s camera can see.
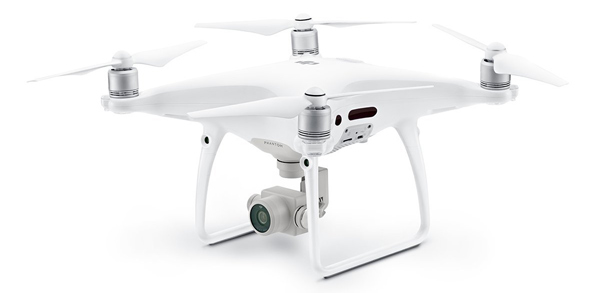
At the other end of the consumer-oriented product line, you have the DJI Phantom 4 PRO Drone Quadcopter, which costs around $1800, and includes a 20MP camera mounted on a proper 3-axis gimbal to keep the camera level at all times.
Advanced Drones
If you’d prefer more camera options, perhaps using your own mirrorless camera or a small DSLR, then look to the DJI Spreading Wings S1000+. It’s an octocopter, with eight motors/propellors, retractable, carbon-fiber legs, and is compatible with Zenmuse gimbals and gimballed cameras, as well as other third-party gimbals.
The gimballed cameras DJI offers include the Zenmuse X3 for $900 and the Zenmuse X5 for $1800.
Using the appropriate gimbal, you can attach any camera you like to the DJI Spreading Wings S1000+, so long as the total weight (including the drone, batteries, gimbal, and camera) doesn’t exceed 24 pounds.
A Gimbal
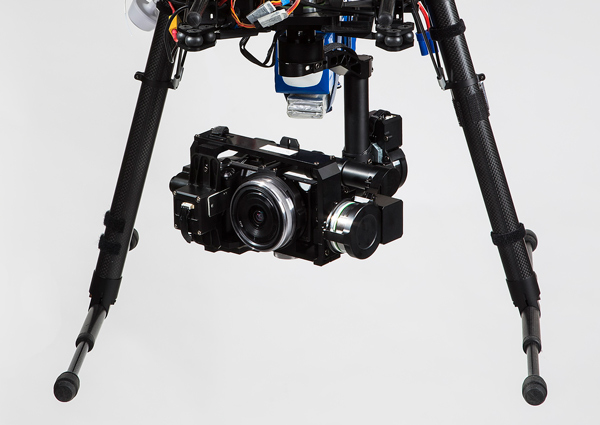
A gimbal is a stabilized harness or frame suspended beneath the drone. It’s designed to carry a camera, keeping it level, or allowing it to be pointed remotely in a specific direction.
Like drones, gimbals vary in price and size and it’s important you choose a drone which can lift your choice of gimbal and camera, and a gimbal which can handle the weight and size of your chosen camera.
Zenmuse are a popular, reliable gimbal manufacturer, but there are literally hundreds of cheap, Chinese models available. Whichever you choose, be sure it fits your chosen camera, and preferably make sure you can find good reviews from reliable sources.
A Camera
Naturally, you’ll need a camera too. Drones are available to carry anything from a tiny, dedicated camera, GoPro action cameras, compact and mirrorless cameras, DSLR cameras through to high-end movie cameras.
You may be tempted to build your drone photography system around your existing camera and lenses, but before you do that, consider the size and cost of a drone big enough and powerful enough to lift your relatively heavy DSLR.
It might be more cost effective to look at a smaller, mirrorless camera as your drone camera. These are much lighter than a DSLR and therefore easier to lift with a more modest drone setup.
A Transmitter
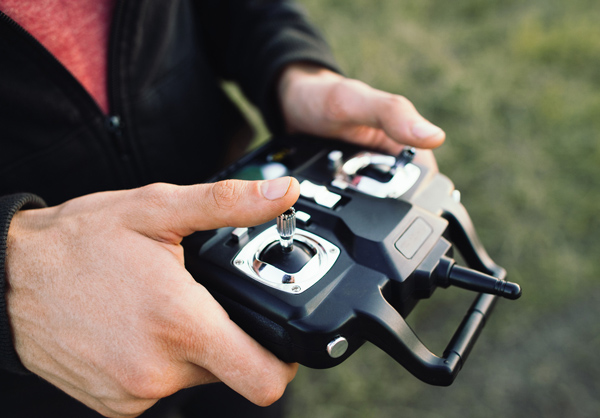
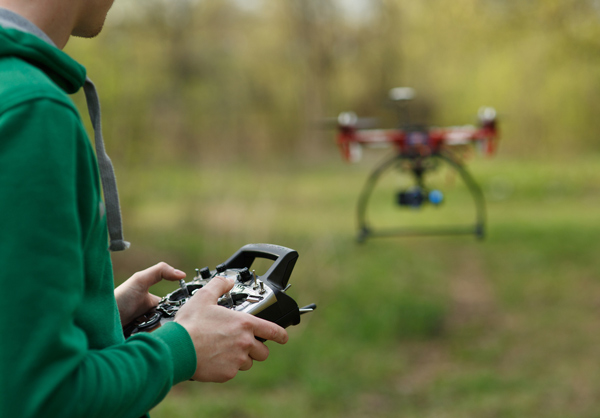
To control your drone, you’ll need a transmitter or controller. These range from simple devices with very few communication channels, to extremely advanced transmitters with many extra channels for controlling additional drone and camera features.
FPV Goggles Or Screen
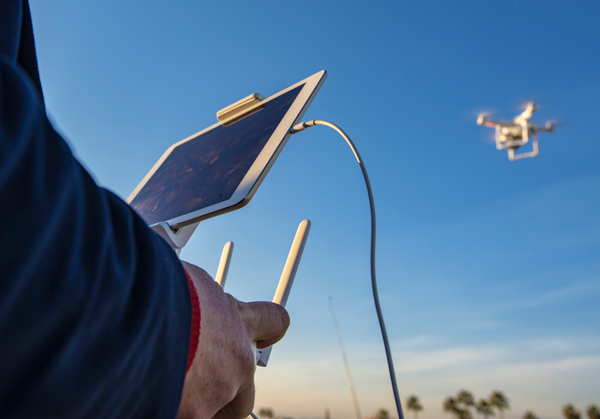
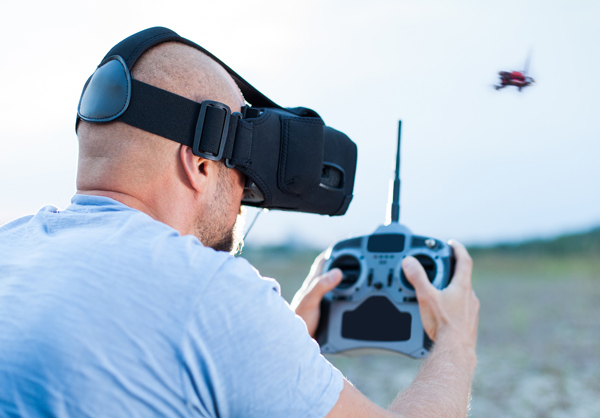
While you can take great photos with your drone-mounted camera without the benefit of seeing what the camera can see, you’ll always get better results when you can. FPV, or First Person View, is the most popular way of seeing what your camera sees.
It works by taking a video feed from your drone-mounted camera, and relaying it to a pair of FPV goggles or an FPV screen which you, the pilot, wears or uses.
As you maneuver the drone, or change the camera gimbal’s position, your FPV view changes to reflect what the camera is now looking at.
When you’re happy with what you see, you can trigger the camera’s shutter remotely by pressing a dedicated button on the transmitter.
Batteries, Battery Charger & Other Accessories
Lastly, there are several accessories which will keep your drone powered up and airborne. These include spare batteries, a battery charger, spare propeller blades, tools for drone maintenance, spare parts and carry cases. The most important of these accessories are the batteries and battery charger.
Drones typically use Lipo batteries. These are capable of being charged fairly quickly, and also have the ability to provide a lot of power output in a short space of time. Because of this, they are relatively volatile and, if handled incorrectly, potentially dangerous.
While budget batteries and chargers are available, stick with the better-known brands, such as Gens Ace, Floureon, or Turnigy, as these will behave more predictably and should withstand more intense use without failure.
Repeated charging and use of a battery in quick succession can cause the battery to overheat. Therefore, it’s sensible to have several batteries and use them in rotation, giving each battery a chance to recover and cool down before re-use.
2. Federal, State And Local Drone Regulations & No-Fly Zones
Drones have become more and more popular over the past several years, not least because of media interest, falling prices and a proliferation of exciting after-market accessories.
This popularity has meant drones easily fall into the hands of irresponsible owners, which has led to high-profile news stories which the press has been quick to jump on, stirring up hysteria about drones and their uses.
Therefore, and not before time, the authorities have had to provide guidance and laws to protect the public – both in terms of their safety, but also in terms of their privacy and civil liberties.
If you’re in the USA, your first port of call for everything related to the legality of flying drones can be found at the FAA / Federal Aviation Administration’s website.
Registering Your Drone
In the US, if you wish to fly a drone whose total weight exceeds 0.55 pounds you’ll need to have the drone registered. It’s not difficult to register and costs just $5. Bear in mind that if you don’t get your drone registered and are caught flying it you could be fined as much as $27,500. Register your drone here: https://www.faa.gov/uas/registration/
All registered drone users receive a unique identification number which has to be written on the registered drone.
The national laws on drone use should be your first consideration, but note that some states have local regulations regarding drone use which take precedence over national laws. Therefore, the onus is on you to make yourself aware of all the prevailing laws relating to where you intend to use your drone.
No-Fly Zones
Strict no-fly zones exist, and again, it’s your responsibility to know where these no-fly zones are, so you can avoid flying in them and breaking the law.
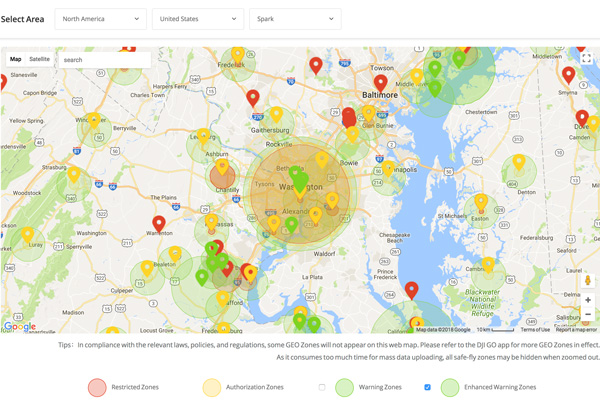
The drone manufacturer, DJI, has created a no-fly database which you can check here. DJI uses the database behind this tool to automatically prevent its customer’s drones from entering a no-fly zone.
Commercial Drone Use
If you intend to use your drone commercially in the US, you’ll need to apply for Section 333 Exemption, also from the FAA. It’s not straightforward to get this exemption and most applicants rely on legal representation to make a case. This all takes time and there’s no guarantee you’ll be successful.
Lastly, because this industry is still in its infancy, and the authorities have been slow to put regulations and safeguards in place, you should assume that any existing laws are subject to change and improvement. Therefore, the responsibility for keeping up to date with the latest laws and best practice falls on you, not the authorities.
3. Learn To Fly A Drone Before You Attach A Camera
Most drone pilots started out with a “toy” drone – something cheap that they can learn the basics on without risking expensive damage.
These smaller drones can even be used indoors, which gives you more opportunities to practice, regardless of the weather, or time of day. The skills you’ll learn on a “toy” drone are totally transferable to a larger, more professional drone.
Before your very first flight, you’ll want to make sure you’ve taken some important precautions:
- Choose a wide, open area to fly in.
- Keep away from obstacles such as power lines, buildings, trees and bridges.
- Keep your drone well away from members of the public or their pets while you’re learning.
- Avoid flying on a windy day.
An important reflex to learn is to let go of the throttle if you’re about to crash or lose control. Spinning propellers can cause a lot of damage, to anyone or anything they come into contact with, but also to the propellers themselves. So, stopping the propellers from spinning should be your priority in an emergency.
There are several exercises you can practice to improve your flying skills, but before you start, always take off from a flat, level surface, and have your drone facing away from you.
Exercise #1: Take off, hover and land
This is where it all begins. Practicing take-off, hovering and landing, are the bare essentials of drone flight. Just increase the throttle gently until the drone lifts off the ground.
Once it’s in the air, back off the throttle a little to prevent the drone from rising further, and find a throttle balance that keeps the drone hovering in the air in front of you.
When you’re ready to land, simply back off the throttle very gently, bringing the drone back down to the ground smoothly. Be careful not to back the throttle off too suddenly or the drone may simply drop to the ground heavily, possibly causing damage.
Repeat this take-off and landing exercise over and over again until you’re able to take off and land smoothly every time.
With this exercise, remember to keep the drone facing away from you at all times.
Exercise #2: Lateral Movement
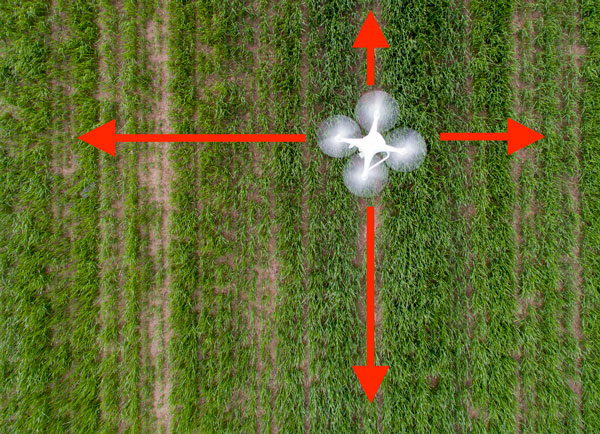
Getting slightly more advanced now, you’re going to practice moving the drone from side to side, and forward and backward.
Get your drone airborne, then, move the drone left and right by moving the right stick to the left or right respectively. Once you’ve moved it one way, bring it back the other way. Repeat this until you’re ready to stop, and land the drone safely.
Next, with the drone airborne again, move the drone forward and backward by moving the right stick forward or backward respectively. Once you’ve moved the drone forward, bring it back toward you. Repeat this until you’re ready to stop, and land the drone safely.
Again, with this exercise, keep the drone facing away from you at all times.
Exercise #3: Square And Circles
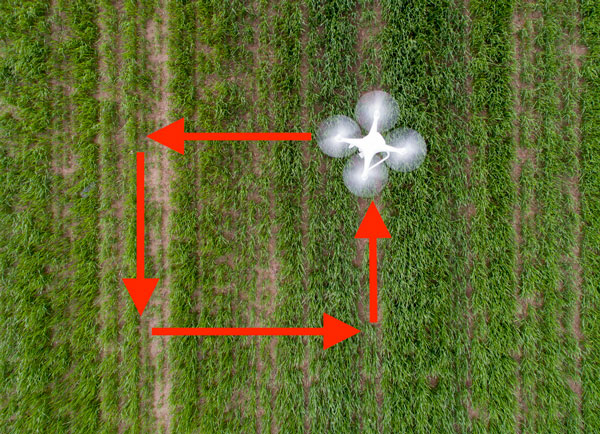
This exercise really tests the skills you’ve learned in the previous two exercises. Pick a fixed marker on the ground that you can use as a target. This could be a discolored patch of grass, an X marked in the dirt, a flat stone, or a plastic lid, for example.
Next, with your drone airborne, fly the drone in a regular pattern around the target. Start with a square. Using the skills you practiced in Exercise #2, move the drone forward a little, left a little, back a little, then right a little, until it’s back where it started. Repeat this, while trying to keep the movement and distances consistent.
It’s very easy to get carried away and pick up too much speed. If this happens, try smaller movements of the right stick, and make sure you complete a movement in one direction before attempting the next.
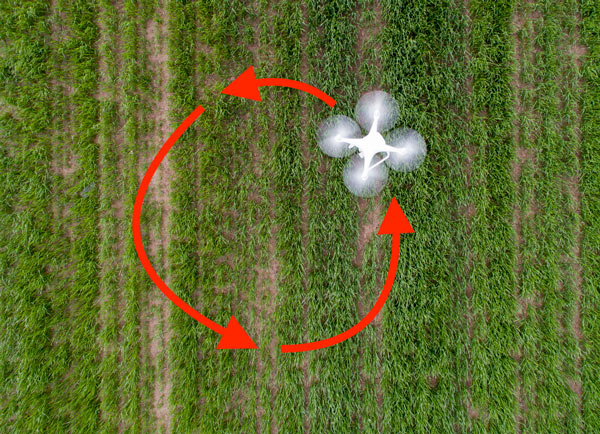
Once you’ve mastered squares, try and fly your drone in circles around your marker, keeping your drone facing away from you at all times. This is a very dynamic and tricky exercise because you’re always doing more than one thing at a time. You’re moving the drone forward or backward at the same time as moving it sideways.
To do this, simply move the right stick in a gentle circle. As with the square exercise above, it’s easy to get too carried away, so always use a gentle touch on the stick, and be ready to bring the drone safely back down to the ground.
Exercise #4: Yaw (Rotation)
When your drone is facing away from you, with its back towards you, flying it is fairly intuitive. Left is left, right is right, forward is forward, backward is backward, etc. However, with the drone pointing in any other direction, things get tricky quickly!
It’s one of the hardest things to learn about flying a drone, but the most rewarding because it gives you the most amount of control and precision, which is especially useful for drone photography.
With this exercise, you’re going to keep the drone fairly low, certainly no higher than you’re prepared to have your drone fall with some force. Four or five feet should be ok.
With your drone airborne and in front of you, move the left stick gently to the left until the drone has turned 90 degrees to the left. Then bring the stick back to the right until the drone has returned to face away from you.
Now, move the left stick to the right a little more, rotating the drone to the right 90 degrees. Then bring it back to face away from you.
Repeat this 90-degree exercise over and over until you’ve nailed it.
Then, repeat this exercise but go to 180 degrees, with the drone turning to face you.
When you’re feeling confident with the above, go for the full 360 degrees.
Exercise #5: Landing Practice
This is a fun exercise, and as easy or challenging as you want to make it.
Simply choose two take-off and landing points which are at ground level. This minimizes problems if you miss the landing.
Take off from the first one and fly to the other, landing as accurately and steadily as you can. Then take off again and fly back to the original point. Do this over and over again.
Rather than sticking to these two take-off/landing points, choose different points, at different distances and different heights. Use the features you find around you, a tree stump, a picnic table, or a drainage inspection cover.
Your goal is to take-off smoothly, fly neatly to the other point, and land gently and with as much accuracy as possible.
FAA Guidelines
The FAA has published a set of safety guidelines you should follow:
- Keep the flight height below 400 feet above ground level
- Don’t fly within three miles of an airport or a landing strip
- Keep your drone within the pilot’s sight at any given time during the flight
- Keep the drone away from National Oceanic and Atmospheric Administration (NOAA) zones, as well as from temporary flight restriction zones
- Adhere to flight safety rules (keeping the drone away from wildlife, buildings, and pedestrians)
- Respect all the no-fly zones
4. Understand The Drone Controls & Settings Available To You
Before attempting to fly your drone for the first time, you’ll need to understand the controls and settings. These are so numerous that we’ll just cover the basics in this article.
Arming & Disarming
When you switch your drone on, it will be in a “disarmed” state. This means the drone won’t take off until it has been “armed”. To discover how to arm your drone, consult your user guide.
Transmitter Modes
There are two transmitter modes available to you. Both of these modes relate to how the drone behaves based on the transmitter’s stick positions.
In both modes, the left stick’s sideways motion controls yaw (rotation), and the right stick’s sideways motion controls roll.
With mode 1, the left stick’s forward and backward motion controls pitch, while the right stick forward and backward motion controls the throttle.
In mode 2, the left stick’s forward and backward motion controls the throttle, while the right stick forward and backward motion controls pitch.
Most drone pilots use mode 2, and since switching between modes is counterintuitive and difficult, it’s best to start out with the mode 2.
Flight Modes
There are several flight modes. The most basic drones may only offer one or two of these flight modes. More advanced drones provide most, if not all, of them.
Standard: In this mode, the drone levels itself when the sticks are released. The amount of tilt the drone can achieve is limited to make it easier to fly.
Advanced: This is the same as standard mode, but with a less restrictive maximum tilt.
Manual: In this mode, all stabilization is turned off and no maximum tilt is applied.
3D Mode: Again, no stabilization is applied and the 50% throttle stick position cuts the power to the motors. Greater than 50% throttle stick position generates positive thrust, but less than 50% throttle stick position reverses the direction of the motors, allowing upside down flying!
GPS Mode or P Mode: This mode is only available on drones with GPS fitted. It allows your drone to fly at a fixed altitude, hover in place, and automatically adjust for gusts of wind.
Trim
Most drone transmitters allow you to make small adjustments which correct imbalances in the drone’s motors and flight controller. A typical scenario might be where your drone wants to keep rotating anticlockwise – or yawing. A small adjustment to the yaw trim will cancel out this unwanted rotation.
5. Pre-Flight Checklist & Preparation
Even if drone photography is something you intend to do purely as a hobby, it’s sensible to treat flying your drone seriously. Therefore, making pre-flight checks, and preparing for every eventuality, is a good idea.
Here’s a suggested pre-flight checklist you can use, or adapt.
Day Before Flight
- Weather.
- Permissions obtained? (e.g. from authorities and/or land-owner)
- Drone, transmitter and camera batteries charged?
- Camera SD card formatted?
- First-aid kit packed?
Immediately Before Flight
- Inspect drone for faults, loose components or screws.
- Warn any nearby spectators.
- Set home point (if available, so you can bring drone home automatically later if required).
- Camera lens cover removed?
- Turn camera on.
- Propellors tight enough and can move freely?
- Correct flight mode selected?
- Wind-speed?
- Check for obstacles (trees, power lines, buildings) & people.
Take-Off
- Turn transmitter/controller on first.
- Turn drone on.
- Hover at 15ft for 15 seconds to check drone behavior and sound is normal.
- Check all controls respond as expected.
6. Research & Plan Your Aerial Shots
One of the hardest parts of drone photography is planning what to shoot. Unless you’re actually “up there”, how do you know what will be a good scene to shoot?
We’ve already talked about FPV – or First Person View. This is a good way of checking your framing and composition while your drone and camera are airborne. But you still need to be in the right general area in order to capture great subjects and scenes with your drone.
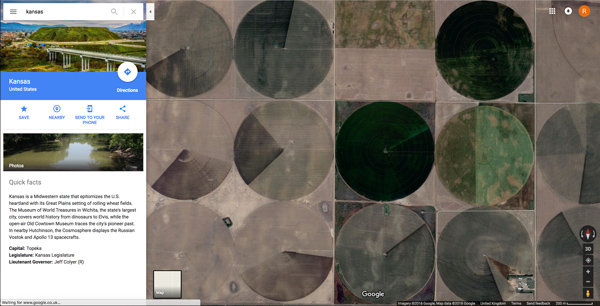
One trick the pros use is to scour Google Maps or Google Earth for likely subjects. Even better, use DJI’s No Fly Zone tool and you’ll save yourself the added effort of having to check if it’s ok to fly there.
The photo below shows the circular fields of Kansas as found in Google Maps with satellite mode enabled. You could plan our your entire aerial shoot using tools like this.
7. Don’t Use Your Camera’s Zoom
Even if your camera has awesome optical zoom, don’t use it for your drone photography. The tiny vibrations caused by the drone’s spinning propellers can cause the camera to shake. Any amount of zoom will amplify this unwanted shake, resulting in blurry photos.
So, for best drone photography results, keep your camera focal length as wide as possible at all times.
8. Use Composition Techniques To Create Stunning Aerial Photos
As with normal photography, drone photography benefits from careful composition. While it’s a little harder to do while the camera’s airborne, it’s still possible.
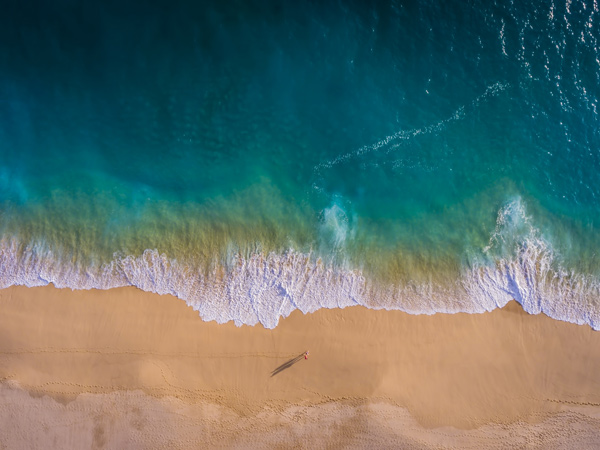
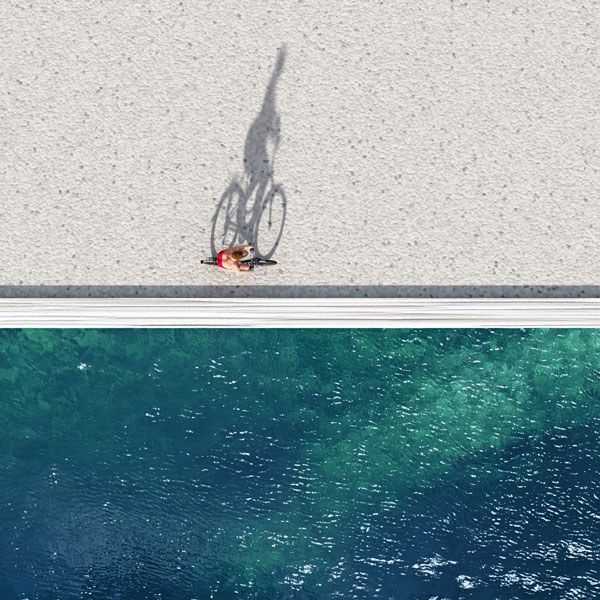
Remember to include a person (if it’s safe and legal to do so), to create a sense of scale.
Shoot when the sun’s low for harder shadows which add depth to the scene.
Look for opportunities to include strong colors.
Seize the opportunity to capture textures and patterns in the landscape.
Look for symmetry in your drone photography, even though this can be tricky with drone photography. It’s perfectly ok to complete your composition in post edit, using the rotate and crop tools.
Drone Photography: Summary
In this article, you’ve discovered the first steps necessary for getting into drone photography. Sure, it’s an expensive, technical aspect of photography which requires great skill, but it rewards the effort you put in ten-fold.
Hopefully, this article has given you a realistic sense of the costs and obstacles involved in drone photography, but also whet your appetite for creating stunning aerial photographs which will amaze your family and friends, and that you can be proud of for years to come.

