Are you confused about what aperture is? Not sure how or when you should use it? In this tutorial you’ll learn everything you need to know about your camera’s aperture. Then you’ll be able to take creative control of depth of field. In no time you’ll be creating portrait photos with attractive blurry backgrounds, and landscape shots where everything is in focus.
What Is Aperture?
Aperture refers to the size of the opening in your camera’s lens. When you take a photo, light passes through this opening and reaches the camera’s sensor, creating an image.
The aperture of the lens is adjusted to make it smaller or larger. This is done manually by you, or automatically by the camera, depending on which camera shooting mode you select.
Use Aperture To Control Depth Of Field
The main reason you’d want to adjust your camera lens’s aperture is to take control of depth of field. Depth of field refers to the amount of the image that’s in focus – from front to back.
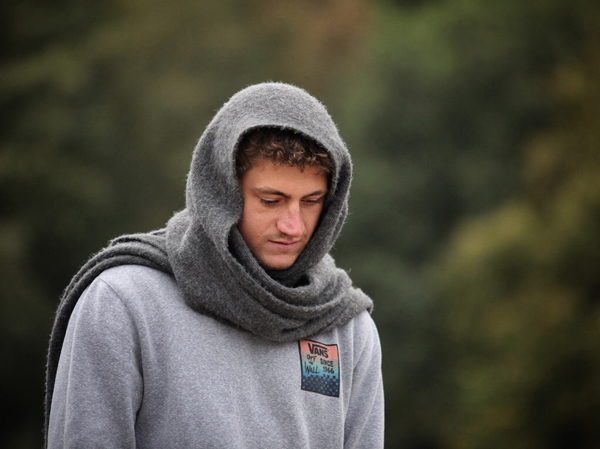
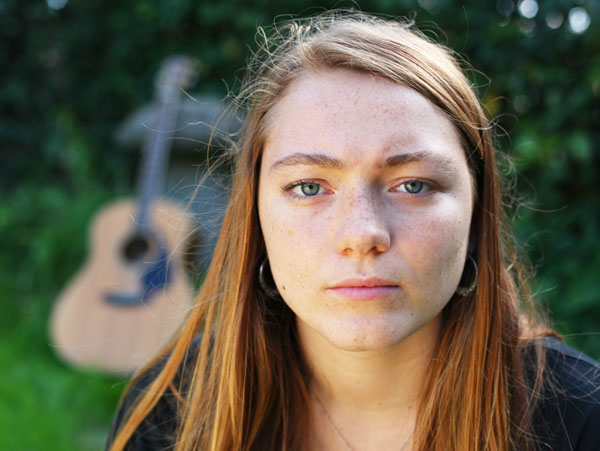
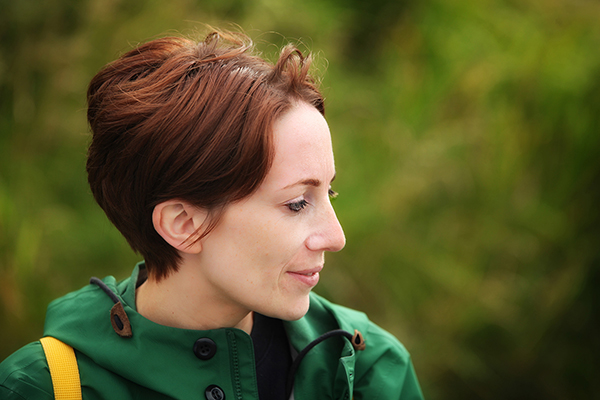
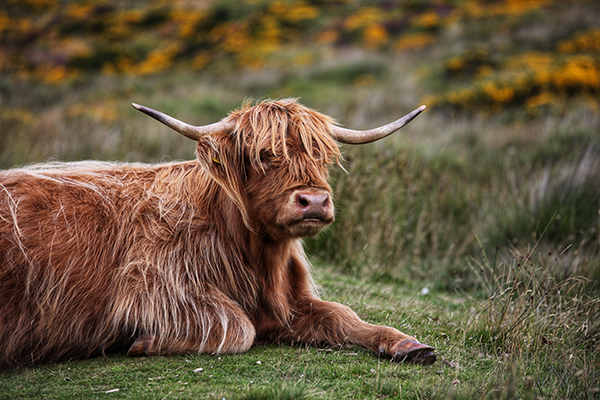
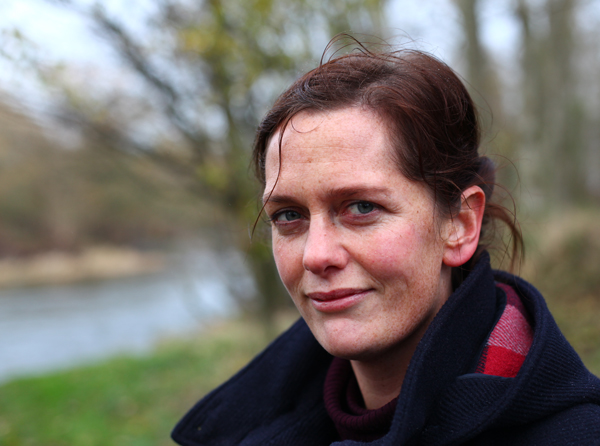
A shallow depth of field means that only part of the image will be in focus. The rest of the image will be blurred.
This is perfect for portrait photography where you need to draw attention to your subject. The shallow depth of field means your main subject is in sharp focus against an attractive, blurry background.
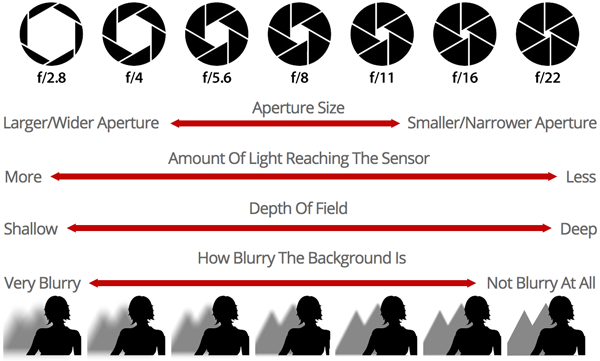
To get a shallow depth of field in your photos, you’ll need to use a large aperture – such as f/4.
The further away your background is, the more likely it is to be blurry. This is useful to remember if your largest aperture isn’t large enough to blur the background a lot. Move your subject further away from the background and shoot again. The blur should become more noticeable.
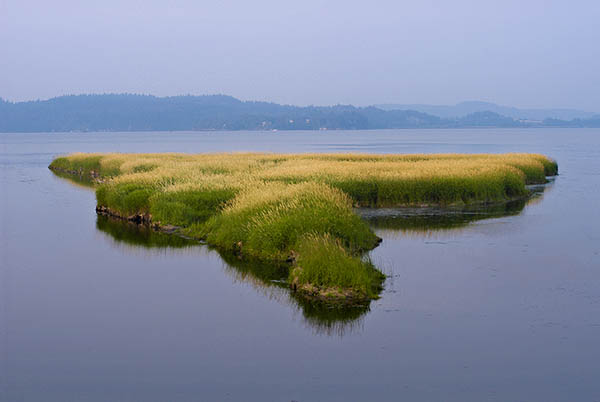
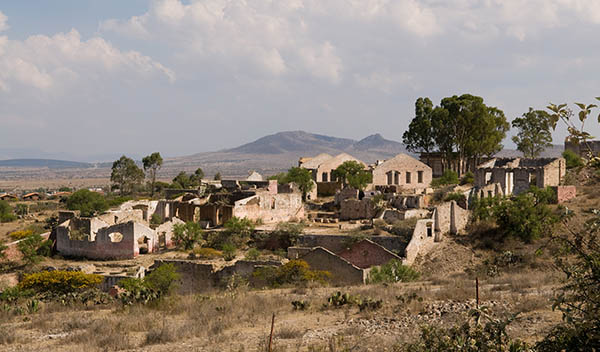
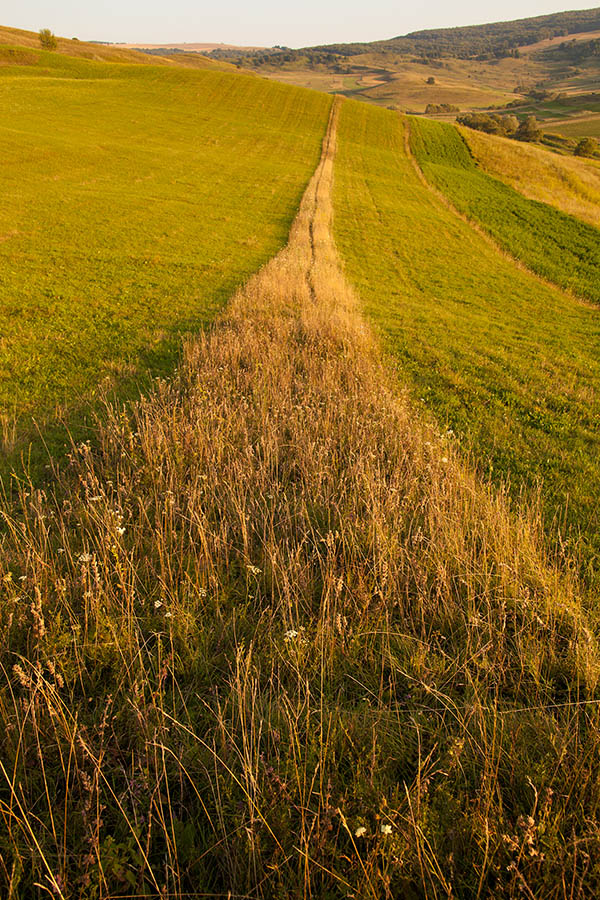
A large depth of field means that all or most of the image will be in focus whether objects are near or far away.
This is perfect for landscape photography where you want everything in sharp focus.
To get a large depth of field you’ll need to use a small aperture, such as f/16.
Depth of field extends twice as far behind the point of focus as it does in front of it. Therefore, as a rule of thumb, to get everything from the foreground to the background in sharp focus it’s a good idea to focus on something 1/3rd of the way into your scene. While there is a bit more to it than that, it’s a good starting point. This rule of thumb relates to something known as Hyperfocal Distance, which is beyond the scope of this article, but we’ll be covering it separately soon.
If your camera has a depth of field preview button, you can use this to visually check in the viewfinder whether enough of the scene is in focus before taking the photo. On my two Canon DSLR cameras, the depth of field preview button is on the camera body, next to where the lenses are attached, on the opposite side of the camera body to the shutter button. Your camera may be different, so check your user manual.
If you focus on something too close, you’ll still end up with a blurry background, regardless of the aperture size you choose. Again, this is because depth of field extends twice as far behind the point of focus as it does in front of it. So if you focus on something 10 feet away, at best, everything beyond 30 feet away will be out of focus.
You’ll learn how to adjust the aperture value on your camera later in this article. First, you need to understand how aperture values are measured, and also how the aperture affects the exposure of your photos.
Understanding Aperture Values (F/Numbers)
Aperture is measured in f-stops, and is referred to by its f/number, e.g. f/2.8, f/5.6, f/22, etc.
The aperture scale is logarithmic. This means each aperture size on the aperture scale is twice as large as the aperture to its right, and half the size the aperture to its left. It’s confusing, but it’s necessary in order for the changes in exposure brightness to be discernible to the human eye.
One thing that people often find confusing is that the larger the f/number the smaller the aperture. At f/2.8 the aperture is very large and lets lots of light in. At f/22 the aperture is very small and lets much less light in.
One way to simplify the confusing aperture size scale is to remember that ¼th of a cake is bigger than 1/8th of a cake!
How Aperture Affects Exposure
Much like your eye’s pupil, a small aperture lets very little light through. A large aperture lets a lot of light through. Therefore, the size of the aperture affects the exposure of the image, i.e. how light or dark it is.
When you take a picture, light from the scene travels through the lens, enters the camera and hits the sensor, creating a digital image. Exposure refers to how bright or dark the resulting photo is.
Achieving a good exposure is essential for creating high quality, visually appealing photos.
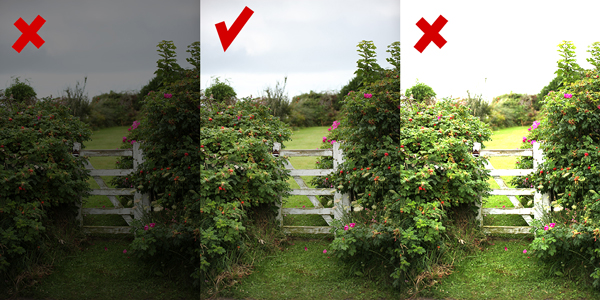
When taking a photo your aim should always be to achieve the best exposure possible, so your photo doesn’t appear too light or too dark.
If a photo is under-exposed (too dark), detail will be lost in the shadows (darker areas of the image).
When a photo is over-exposed (too bright), detail will be lost in the highlights (brighter areas of the image).
Aperture isn’t the only factor which affects exposure. It works together with Shutter Speed and ISO to form the Exposure Triangle.
The Exposure Triangle
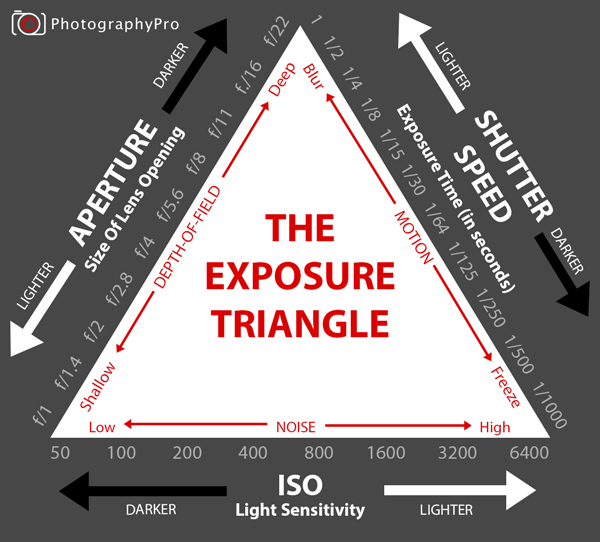
The key to creating perfectly exposed images is to balance the ISO, aperture and shutter speed values to ensure the image doesn’t appear too dark or too bright.
The exposure triangle diagram below illustrates the relationship between these three elements. It helps you understand why your camera automatically chooses certain exposure values and what you can do to take control of exposure when you need to.
As you can see in the Exposure Triangle diagram above, whenever one side of the exposure triangle is changed, the exposure gets darker or lighter. In order for the exposure to remain unaffected by the change, at least one of the other sides needs to change – in the opposite direction.
When in automatic and semi-automatic modes the camera takes care of the exposure triangle for you. In manual mode, you have to take control of all three elements of the exposure triangle. The important thing is to understand the effect of making changes to your camera settings.
So that in your head you’ll be thinking, “Oh, I’m selecting a bigger, wider aperture, so my camera is going to have to choose a faster shutter speed or a lower ISO value, in order to keep the exposure the same.”
Being able to think like this will help you make better decisions when taking photos, with fewer bad photos, and better results.
Select “Aperture Priority” Mode To Control Aperture
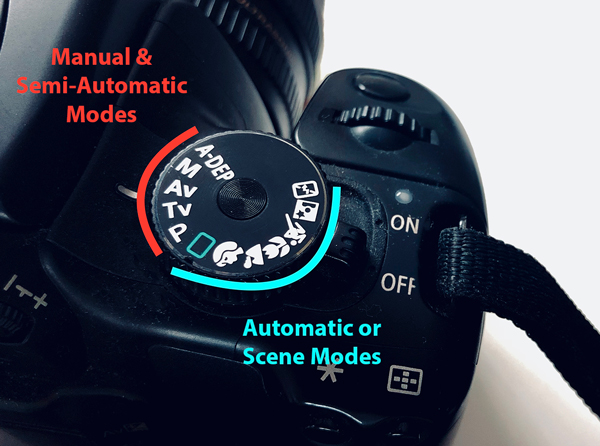
Your camera has many shooting modes – some are automatic – where the camera takes control of everything, including aperture.
Semi-automatic modes let you take full control over one of the settings which form part of the exposure triangle. Your camera automatically adjusts other settings in order to achieve a good exposure.
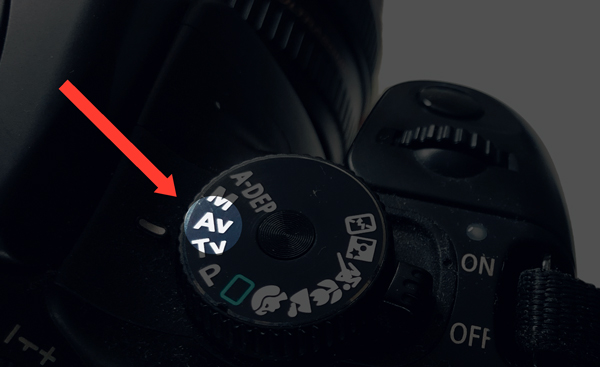
To take direct control of aperture, you need to select Aperture Priority mode on your camera. It will be labeled AV or A on your camera’s mode selector dial.
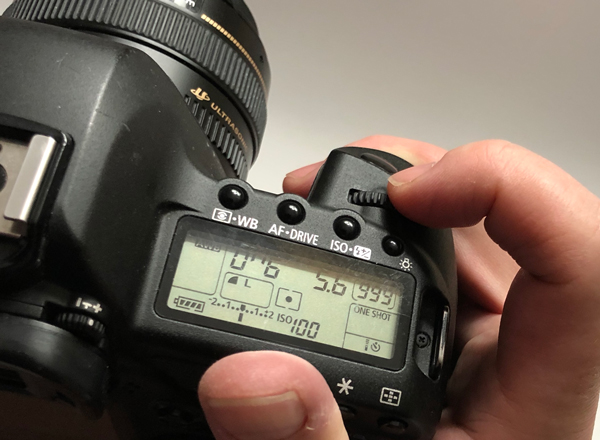
In Aperture Priority mode, you need to choose a suitable aperture value (f/number) for your particular photographic situation. On most cameras, this is done via a thumbwheel or dial on the camera body. Refer to your camera’s manual if it’s not obvious. On my camera – the Canon 5D mk ii – the dial is located just behind the shutter button. It’s under my forefinger in the photo below.
If you want a shallow depth of field with only a small part of your image in sharp focus and a blurry background, select a large aperture (small f/number), e.g. f/2.8. Remember a low f/number means a large aperture.
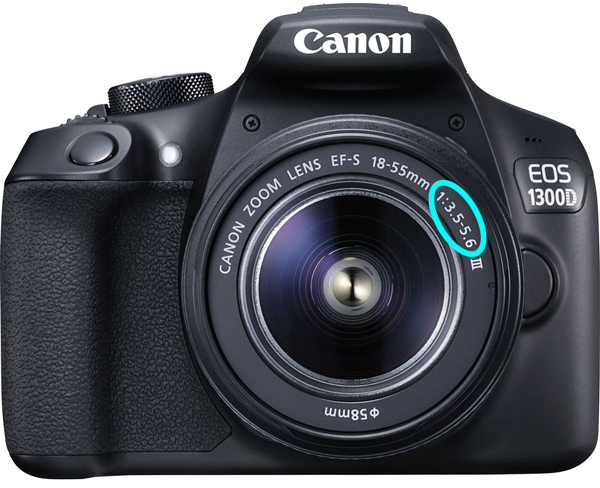
Note: Your camera’s lens will tell your camera what the maximum, largest aperture size is for the current focal length. Focal length is the amount of zoom (a range in mm from the zoom lens’s widest or shortest zoom, to its longest). Most camera lenses offer their largest aperture sizes at the wide-angle end of the zoom range. Prime lenses don’t have a zoom facility – so their focal length is fixed, and so is their maximum aperture size. The maximum aperture size is usually found on the barrel of the lens or on the ring which surrounds the glass at the front of the lens. For example, the lens attached to the camera below has a maximum aperture of f/3.5 at its wide end (18mm) and a maximum aperture of f/5.6 at its long end (55mm).
If you want a large depth of field where all or most of the scene is in focus, select a larger f/number, e.g. f/16.
When shooting in Aperture Priority mode, you dial in the aperture value in order to get the depth of field that you want. Your camera then automatically sets the shutter speed and/or ISO to ensure a good exposure.
For example, if you reduce the f/number to use a larger aperture, letting more light in, the camera will automatically adjust the shutter speed to be faster. This lets less light in – keeping the exposure balanced.
If the shutter speed is too slow, you may get blurry results, because the subject or the camera moved while the shutter was open.
Increasing the aperture size will give you a faster shutter speed while keeping the same exposure.
If the shutter speed is faster than you require, then you can decrease the aperture size, to give you a greater depth of field.
Note – if your primary concern is preventing blurry shots due to fast moving subjects then you should select Shutter Priority mode. Read our Shutter Speed tutorial for more information about this.
Conclusion
In this article, you’ve learned what aperture is and how and when to use it to control depth of field. You’ve learned how aperture affects exposure and where it fits in the Exposure Triangle. To recap:
- Aperture is the opening in the lens which lets light through to the camera’s sensor
- A large aperture lets in more light than a small aperture
- Aperture is one of the three component parts of the Exposure Triangle
- In Aperture Priority mode you take direct control of aperture
- A large aperture results in a shallow depth of field, for attractive blurry backgrounds
- A small aperture results in a less shallow depth of field, for more front-to-back sharpness
By now you should feel more comfortable with your camera’s aperture setting. Even better, you now know when and how to use it to control depth of field. Either to throw the background out of focus for better portraits, or, for landscapes, to keep everything in focus. As with everything else in photography, practice makes perfect. Try photographing your favorite subjects in Aperture Priority mode with different aperture settings. Take note of how each of the different settings affect how much of the scene is in focus. Does it improve or take away from the photo? Good luck!

