White is white – except when it’s not, like under fluorescent lights, incandescent bulbs, and in the shade. Under certain lighting conditions, whites and other colors can look wrong. This common problem relates to your camera’s white balance setting. In this article, you’ll discover how to fix it, every time.
What Is White Balance?
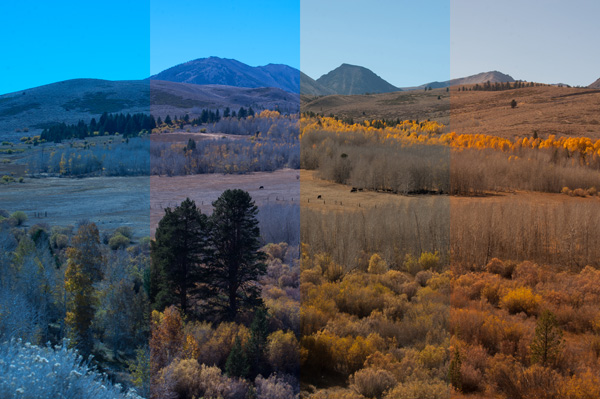
In non-technical terms, white balance is how warm or cool the overall colors in your photograph look.
Your camera is pretty good at reproducing color because it has the ability to analyze the scene and compensate for overly warm or cool colors.
Usually, colors in your photos will look pretty close to the way they looked in real life. However, your camera is easily confused and can sometimes make the colors too warm or too cool.
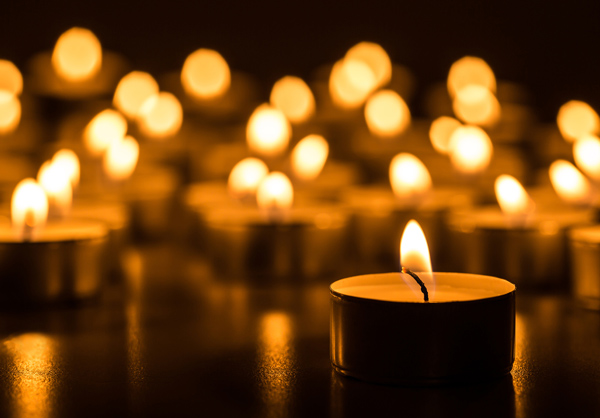
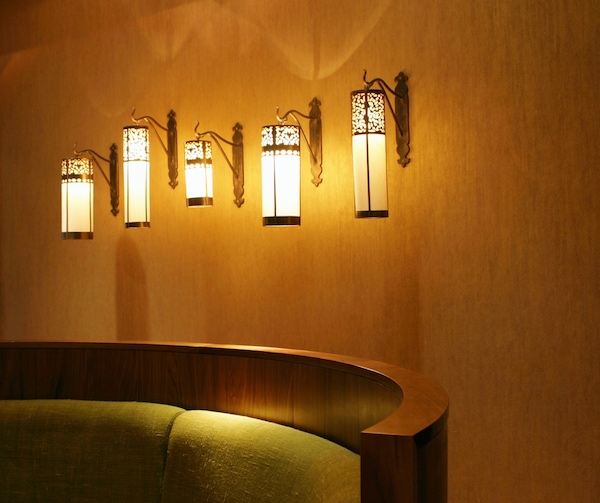
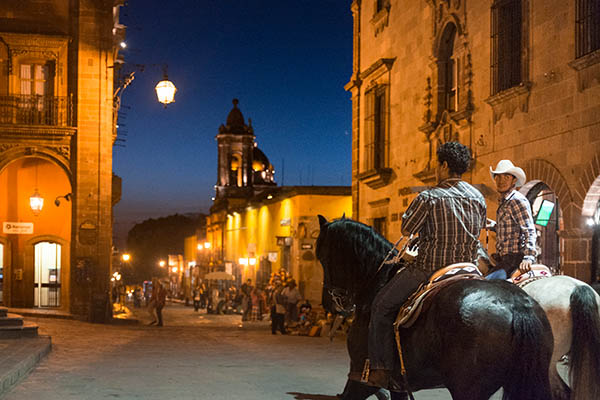
The most obvious place to spot this problem is the parts of your scene that are, or should be, white. When you take a photo by candlelight, sometimes the whites will look kind of yellow or orange.
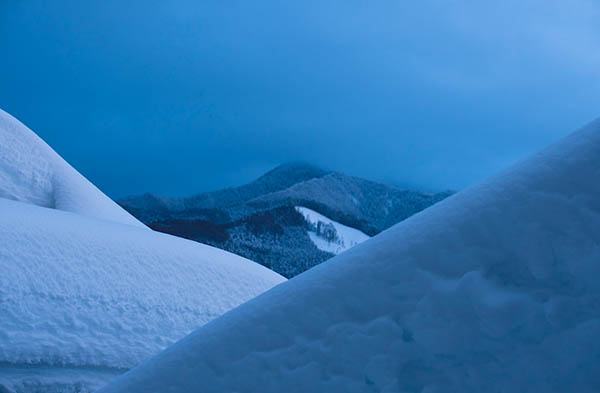
On a cloudy day, or when you’re in heavy shade, the whites might look a little blue.
This is called a “color cast,” and it happens because the color of the light source varies.
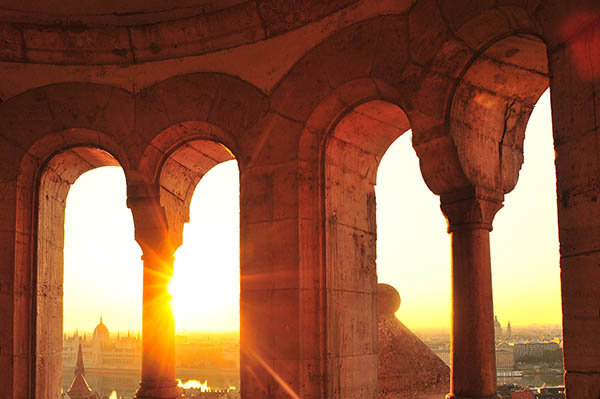
Sunlight in the morning and evening can make colors a little redder or “warmer”.
Ambient light on an overcast day can be a little bluer or “cooler”.
This warmth or coolness in the colors is referred to as “color temperature”.
Understand Color Temperature
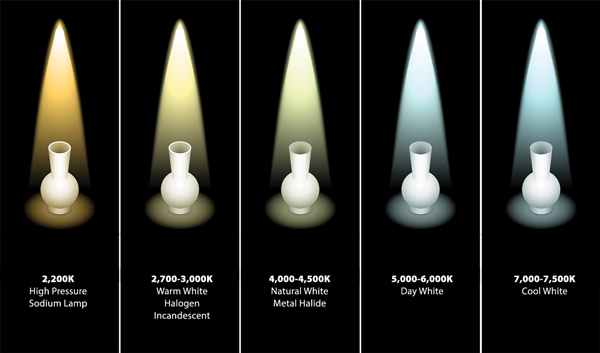
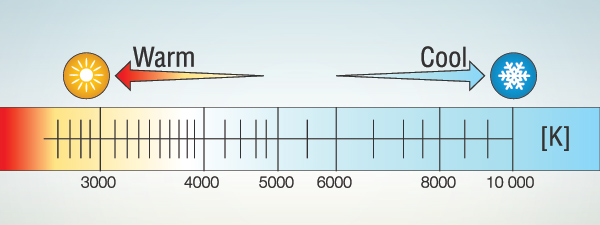
Color temperature is measured in degrees Kelvin. Different sources of light have different color temperatures. Incandescent or tungsten lights are warm. Candlelight is even warmer. The natural light on a cloudy day is cooler, while fluorescent light can give your photo a green cast.
Here’s a brief rundown of some of the most common lighting situations you might encounter and what the corresponding Kelvin number is:
- Candlelight: 1900
- Incandescent light: 2700
- Sunrise/golden hour: 2800 to 3000
- Halogen lamps: 3000
- Moonlight: 4100
- White LEDs: 4500
- Mid-day: 5000 to 5500
- Flash: 5500
- Overcast/cloudy: 6500 to 7500
- Shade: 8000
- Heavy cloud cover: 9000 to 10000
- Blue sky: 10000
Note that the cooler the light, the higher the number. The warmer the light, the lower the number.
Your brain automatically deals with color cast, so it’s not something you’ll notice unless you’re looking out for it. However, your camera isn’t as smart as you and often needs your help.
Next, we’ll look at the options available to you for fixing unwanted color casts so the colors are rendered accurately.
Use Auto White Balance
Most cameras default to the “Auto” white balance setting, which actually works pretty well, most of the time.
In auto white balance mode, your camera examines the scene you’re trying to photograph and chooses a color temperature (in Kelvin) it thinks will work best.
However, your camera can easily get confused if the scene:
- Doesn’t contain any colors which are white, or close to white.
- Contains mostly one color (e.g. a lot of green grass, white snow, blue sea or sky.)
- Is illuminated by multiple light sources with different color temperatures.
All of these scenarios can result in a color cast in your photo, and you’ll want to take charge of the white balance.
Choose A White Balance Preset
Because auto white balance isn’t perfect, cameras have white balance presets which will give you approximate white balance for typical lighting settings.
If you’re in an incandescent lighting situation, for example, you select the lightbulb icon from your list of presets, and your camera makes adjustments to compensate for what it knows is a warmer light temperature.
It does this by applying a cooler color temperature for warm light settings, and warmer color temperatures or cooler light settings.
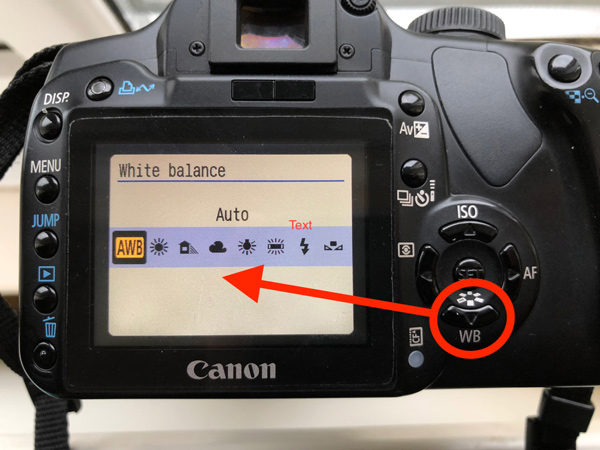
Your white balance setting can be accessed either in your camera’s menu system or using a dedicated button labeled “WB” on your camera’s body. Hold it down/press it and you’ll be able to scroll through the different icons representing different lighting situations.
The typical options are incandescent (usually a light bulb icon), fluorescent (a fluorescent tube), daylight (the sun), flash (a jagged arrow), cloudy (a cloud), and shade (a house with shade on one side).
Presets work really well as long as the light in the room comes from a single source. A room lit by incandescent light at night, for example, is going to be pretty easy for your camera to correct.
On the other hand, more complex lighting scenarios involving multiple light sources of different color temperatures are really challenging for your camera. An example of this “mixed lighting”, is where you have incandescent lights combined with some natural light coming through the windows.
Unfortunately, your camera’s white balance presets can only compensate for a single type of light at a time.
Set Your White Balance Manually
For tricky lighting situations, including “mixed lighting”, you’re going to get the best colors if you ignore the presets altogether and set your white balance manually. You’ll still end up with a single color temperature being applied to the entire scene, but the results will be better than can be achieved with the presets.
In general terms, setting white balance manually involves taking a photo of something white or mid-gray in the same light which is illuminating your intended subject. Next, you select your camera’s Custom White Balance mode, and tell the camera to use the photo you just took of the white or mid-gray content as a reference.
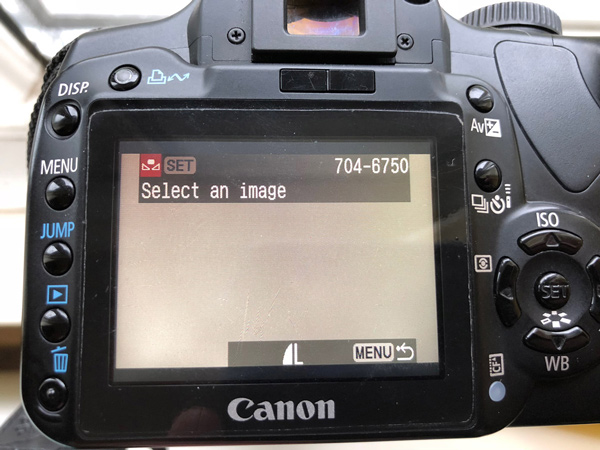
Now, let’s follow the exact steps for a Canon DSLR. It’s similar for most Canon cameras, and not too different for other brands, but consult your camera’s user manual for the exact steps for your camera.
1. Photograph Something White Or Mid-Gray
First, you’re going to photograph something white or mid-gray which illuminated by the same light source affecting your intended subject. This could be a wall, the ceiling, an item of clothing, or a sheet of paper or card. Whatever you use, it needs to fill, or mostly fill, the frame. Your camera will use this reference photo to set the white balance correctly.
2. Select Your Camera’s Custom White Balance Mode
Next, choose your camera’s Custom White Balance mode: press the WB button on your camera’s body, then turn the dial until the Custom White Balance icon is displayed.
Alternatively, you can find the Custom White Balance setting in your camera’s menu. Simply traverse your camera’s menu until you see the “White Balance” setting, then press the “SET” button, in the middle of the rear thumbwheel. Then turn the thumbwheel until the Custom White Balance icon is displayed.
3. Tell Your Camera To Use The Reference Photo You Just Took
Lastly, you need to tell your camera which photo to use as its reference. Traverse your camera’s menu until you see the “Custom WB” setting, then press the “SET” button, in the middle of the rear thumbwheel.
The camera will then show you the last photo you took. This should be the reference photo you took in step #1. If not, keep rotating the thumbwheel until the reference photo is displayed.
Once the reference photo is displayed, press the “SET” button, in the middle of the rear thumbwheel, again.
Your camera will now use the white balance derived from this reference photo for all future photos, until you switch white balance modes, or choose a different reference photo.
For precise control of your camera’s white balance, some cameras allow you to select a specific color temperature from the Kelvin scale. Refer to the list of typical Kelvin values above, and to your camera’s user manual for instructions about how to do this with your specific camera model.
Conclusion
In this article, you’ve discovered how incorrect white balance can cause unwanted problems with color casts. You’ve learned that as good as your camera’s auto white balance is, it’s not perfect.
You were introduced to the Kelvin scale, which is how color temperature is measured. You discovered your camera’s white balance presets, and how they apply to specific types of lighting settings.
For maximum control, you learned how to tell your camera to use a reference photo in order to choose a more accurate white balance setting for the scene you wanted to photograph.
Hopefully, this article has equipped you with the knowledge you need to confidently tackle color cast issues. Using your camera’s built-in white balance feature you can now take photos with much more accurate colors.

